Been an audio guy all my life and into wood the last 15 years or so. Building speakers is a way for me to blend my two hobbies together.
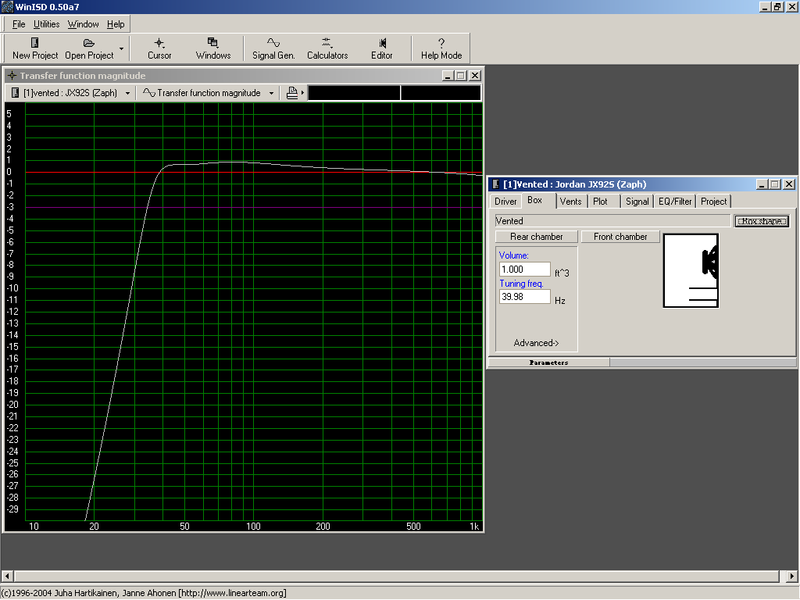
This speaker cabinet is designed for the Jordan JX92S. It is a fullrange speaker requiring no passive components to muddy the sound and has a frequency response which covers most of what the human ear can hear and very good bass. That's all I'll say about the hifi mumbo jumbo and get to the build.
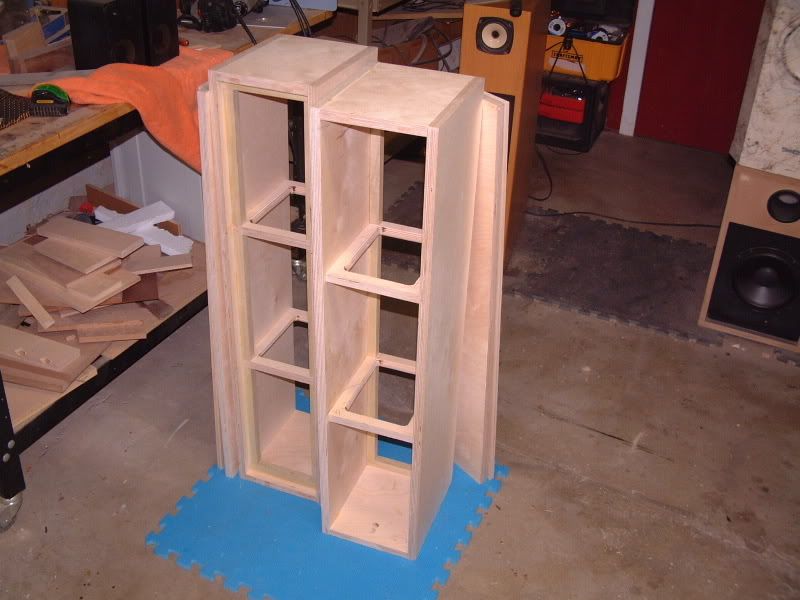
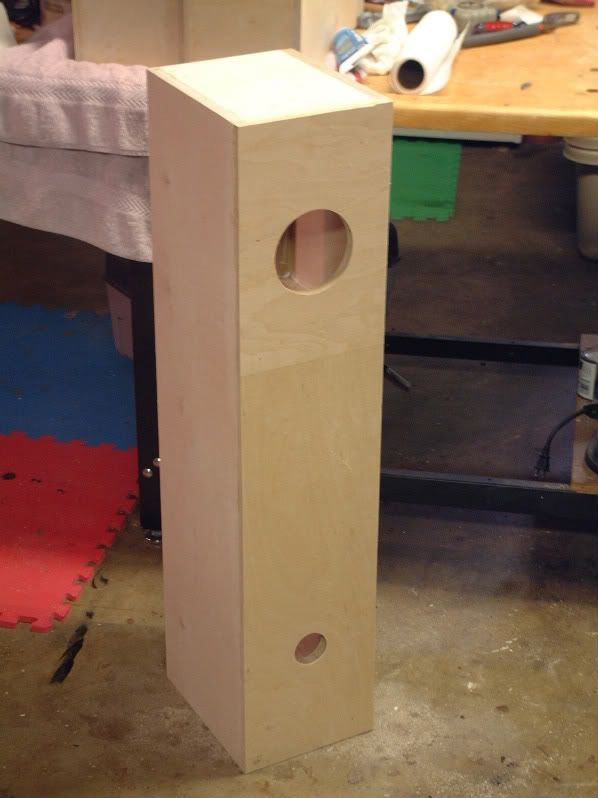
Here is the cabinet with braces installed to keep the cabinet from resonating. The cabinet is made with Dominos and all panels cut with my TS75.
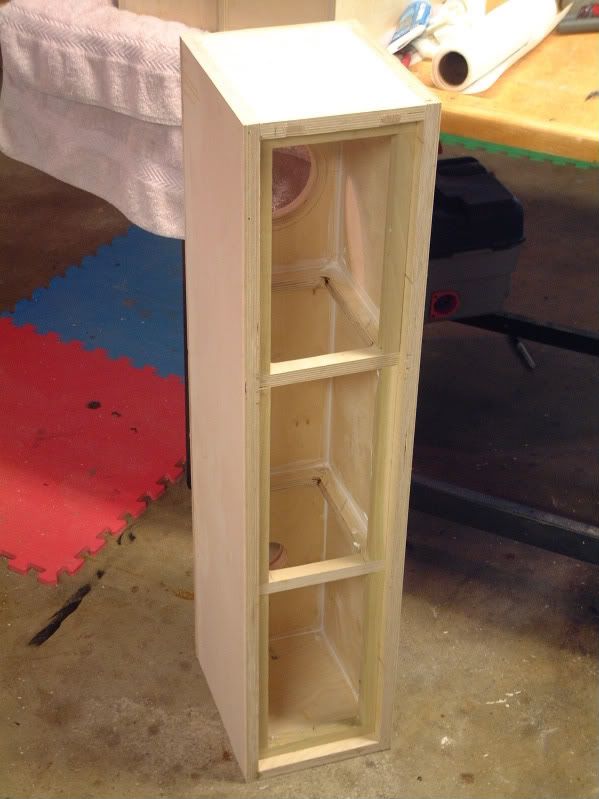
Next we have a picture from the back of the cabinet showing the front baffle installed. All seems covered with a silicon adhesive to keep the cabinet air tight. If you look close you can see where I put the Domino's on the wrong side of the panel...oopps.
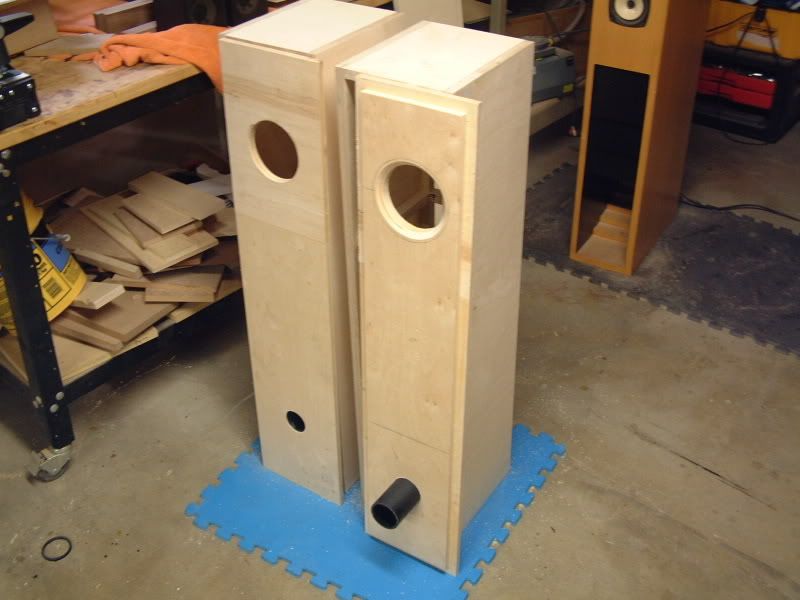
Here is a picture of the baffle before being glued to the cabinet. The black port in the bottom is removable in the case that we need to modify it's length in the future. The baffle is 3 pieces of 1/2" ply laminated together with the smaller piece fitting tightly into the cabinet opening and the outer a touch bigger than the outside of the cabinet. It was then routed to fit the cabinet.
Cabinet glued up just before veneering.
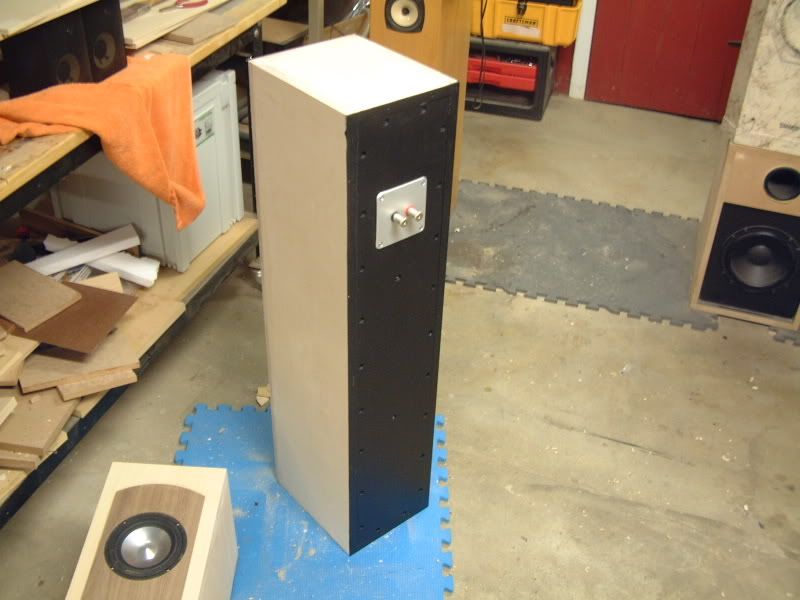
Backs with terminals in place. It is removable and held in place by screws into pleats inside the cabinet.
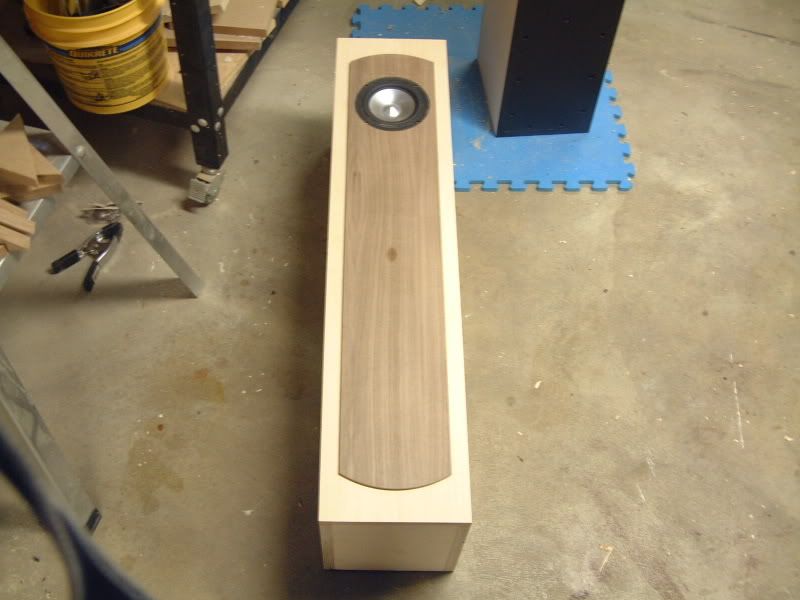
The baffle is veneered first in a figured maple and then a 1/8" piece of plywood is veneered in walnut and glued to the front. The extra 1/8" piece makes the driver flush with the front of the baffle.
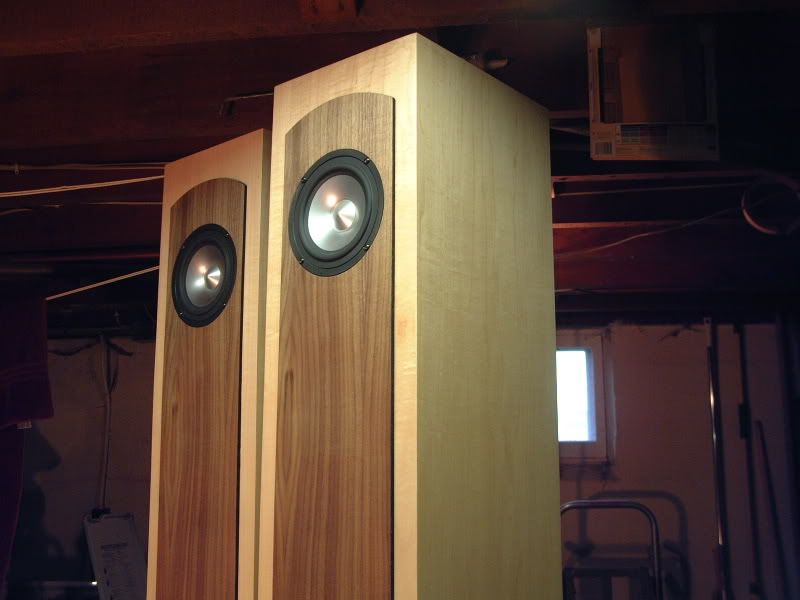
Here they are getting their first test listen.
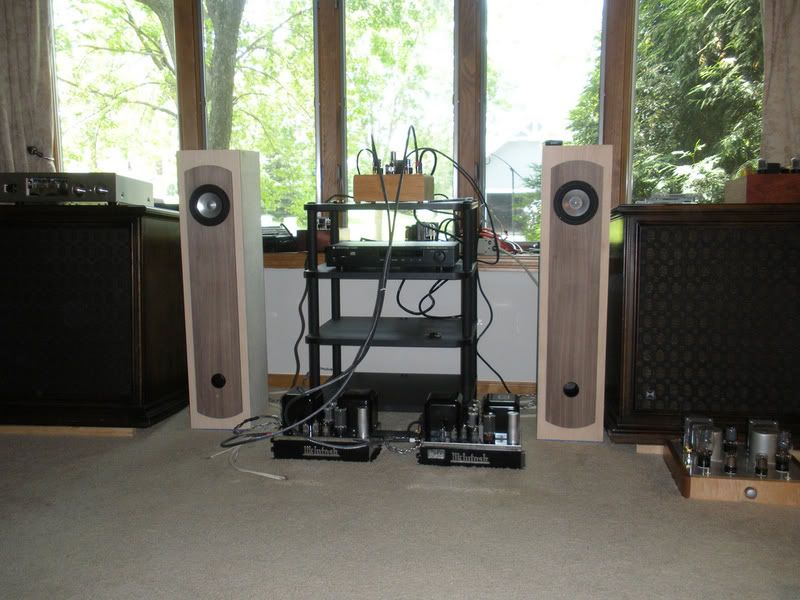
Here they are finished. Sanded with my ETS125 to 400 grit (man I love sanding without dust) and smooth as glass. Gloss tung oil finish.


The feet are made from solid walnut and a maple dowel. They have spikes screwed into the bottom to help stabilize them on carpet. They are screwed to the bottom for easy removal if necessary.
Veneering is done with the iron on method. I found some big sheets (4' x 8') of the maple on eBay. It has no backing so a little trickier to use with this method, but the results are good. Glue both the veneer and panel, let dry and get out your trusty iron. Don't use the wifes though you may get some glue on the business end of the iron, yes I have done it before and ruined her iron. Trim to size and sand. If you've never veneered give it a shot, I really enjoy it!
This speaker cabinet is designed for the Jordan JX92S. It is a fullrange speaker requiring no passive components to muddy the sound and has a frequency response which covers most of what the human ear can hear and very good bass. That's all I'll say about the hifi mumbo jumbo and get to the build.
Here is the cabinet with braces installed to keep the cabinet from resonating. The cabinet is made with Dominos and all panels cut with my TS75.
Next we have a picture from the back of the cabinet showing the front baffle installed. All seems covered with a silicon adhesive to keep the cabinet air tight. If you look close you can see where I put the Domino's on the wrong side of the panel...oopps.
Here is a picture of the baffle before being glued to the cabinet. The black port in the bottom is removable in the case that we need to modify it's length in the future. The baffle is 3 pieces of 1/2" ply laminated together with the smaller piece fitting tightly into the cabinet opening and the outer a touch bigger than the outside of the cabinet. It was then routed to fit the cabinet.
Cabinet glued up just before veneering.
Backs with terminals in place. It is removable and held in place by screws into pleats inside the cabinet.
The baffle is veneered first in a figured maple and then a 1/8" piece of plywood is veneered in walnut and glued to the front. The extra 1/8" piece makes the driver flush with the front of the baffle.
Here they are getting their first test listen.
Here they are finished. Sanded with my ETS125 to 400 grit (man I love sanding without dust) and smooth as glass. Gloss tung oil finish.
The feet are made from solid walnut and a maple dowel. They have spikes screwed into the bottom to help stabilize them on carpet. They are screwed to the bottom for easy removal if necessary.
Veneering is done with the iron on method. I found some big sheets (4' x 8') of the maple on eBay. It has no backing so a little trickier to use with this method, but the results are good. Glue both the veneer and panel, let dry and get out your trusty iron. Don't use the wifes though you may get some glue on the business end of the iron, yes I have done it before and ruined her iron. Trim to size and sand. If you've never veneered give it a shot, I really enjoy it!