- Joined
- Oct 16, 2015
- Messages
- 5,814
I usually go to my workplace on Saturdays, not on the clock. This is the time where I work in personal projects, either my own or for someone else. Sometimes it's only a couple of hours, before my lunch meeting. The time I show up just depends on the size of the project or how motivated I am to do it. Today the meeting was cancelled, so I had a few hours to get something done, uninterrupted.
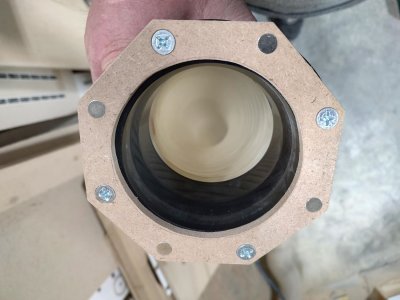
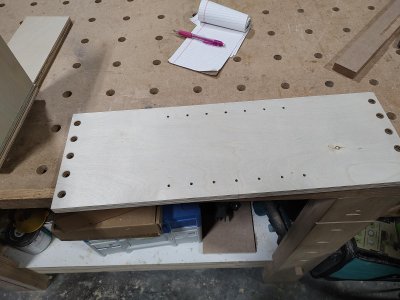
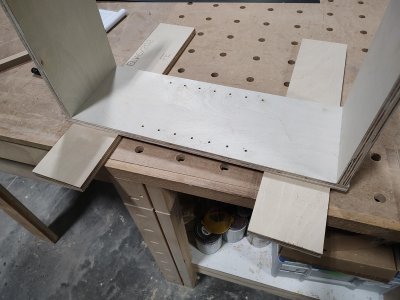
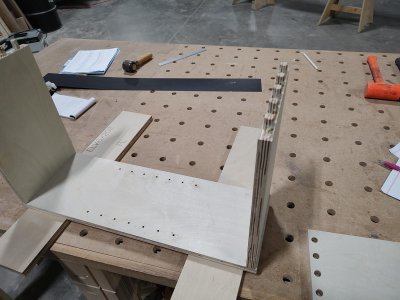
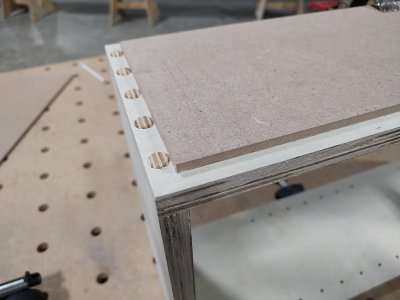
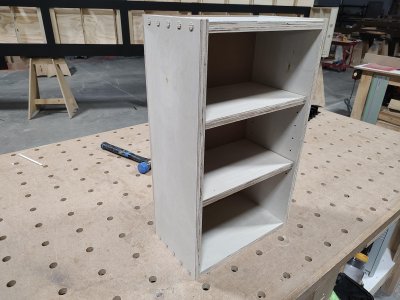
I decided to make a little cabinet/shelving unit, out of some scrap Asian Birch ply. It is a Shaper Origin project, featuring integral "dowels"/tenons in the top/bottom. The "dowels" are relatively large, 1/2" diameter in 18mm thick ply. This would make it very thin/fragile around the holes, in the sides. To counter that, I made the sides slightly longer, moving the mortices in 1/4" from the ends. My plan was to cut the excess off, after the glue was dry. That all sounds fine, until you realize that I left the tenons proud of the surface about 1mm. A spacer, of some sort, is required to get around them. It could be done with a router table, but you would have to secure the spacer in some way. It could be done with an L fence, on a table saw, but you have to take steps to eliminate tear-out. I decided to do it upright, with a spacer, clamped in place. This is a perfect use-case for the extended base for an OF1010 (or OF1400). It provides a lot of stability, when hanging out that far. I used the Shaper for the shelf pin holes too.
I decided to make a little cabinet/shelving unit, out of some scrap Asian Birch ply. It is a Shaper Origin project, featuring integral "dowels"/tenons in the top/bottom. The "dowels" are relatively large, 1/2" diameter in 18mm thick ply. This would make it very thin/fragile around the holes, in the sides. To counter that, I made the sides slightly longer, moving the mortices in 1/4" from the ends. My plan was to cut the excess off, after the glue was dry. That all sounds fine, until you realize that I left the tenons proud of the surface about 1mm. A spacer, of some sort, is required to get around them. It could be done with a router table, but you would have to secure the spacer in some way. It could be done with an L fence, on a table saw, but you have to take steps to eliminate tear-out. I decided to do it upright, with a spacer, clamped in place. This is a perfect use-case for the extended base for an OF1010 (or OF1400). It provides a lot of stability, when hanging out that far. I used the Shaper for the shelf pin holes too.
")
 Besides, there are huge advantages to working in a large cabinet shop, with virtually everything at my disposal. I just save cut offs, plus I did the hole pattern at home, on the laptop, earlier in the week. I just didn't know when it was going to happen.