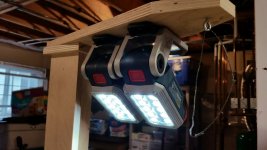
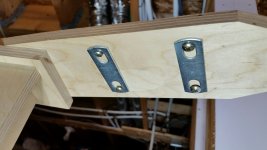
Dan...Looks like a good way of saving the top of the MFT/3 , I'm just new to it after having it for only a month or so .
No cuts in it yet so I'm making one very soon ! My first project with the Mft and parf dogs was making a large Corain triangle to help setup the rail and fence , it turned out pretty well
woodman_412 said:
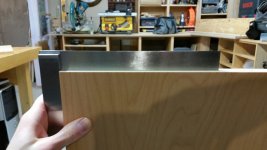
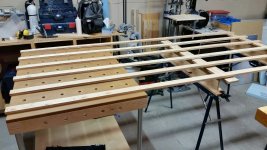
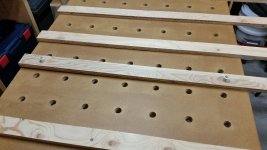
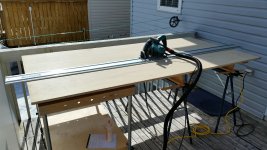
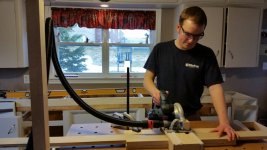
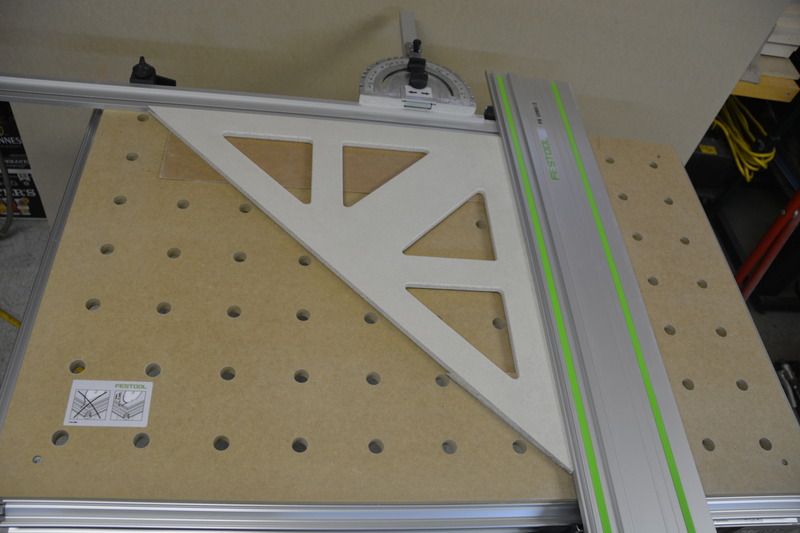
Here is another accessory that I made for the MPT. It is a very simple but very accurate cross cut jig that gives me a few advantages. First I don’t have to cut into my MPT top at all since the 1/4″ MDF jig gives me enough thickness so that I don’t have to cut all the way through. I figure if I can avoid cutting into the top it will last that much longer and since it was a decent amount of work to make that’s a good thing. Second, the jig has a built in tape that is calibrated to the cutting edge of the guide rail so all I have to do is clamp the stop strip down with one of my squeeze clamps at whatever measurement I want and then cut as many parts as I need. The tape sits in a shallow dado so that it is flush with the surface. The stop strip is long enough that I can keep the clamp in one position for any measurement and just slide the strip back and forth. And third, the jig registers in exactly the same place every time with 6 discs that fit into the holes in the MPT top so it’s always accurate. Everything still references off of the Parf dogs as far as the work piece and the track but the jig gives some big advantages over using them by themselves.