Please show me your plywood cutting tables!

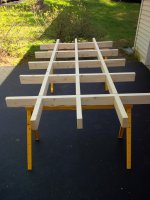
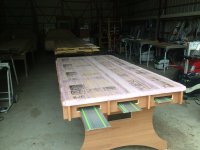
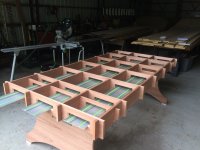
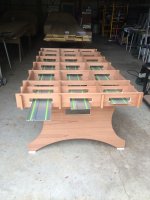
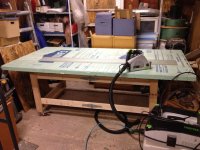
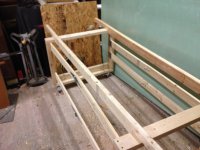
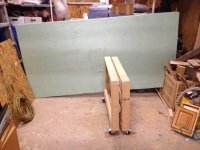
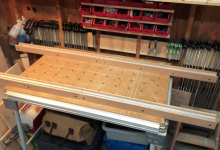
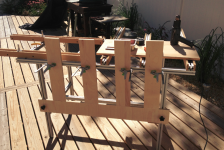
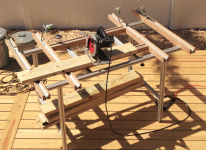
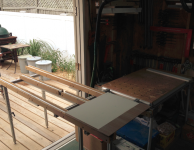
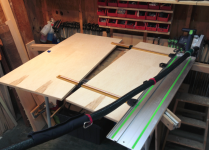
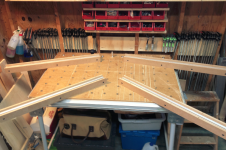
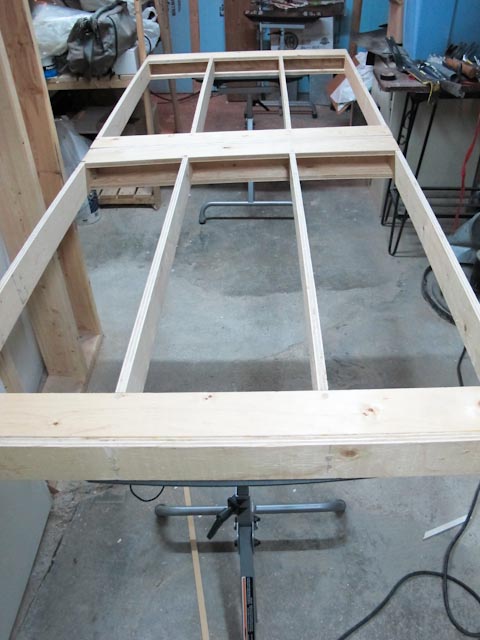
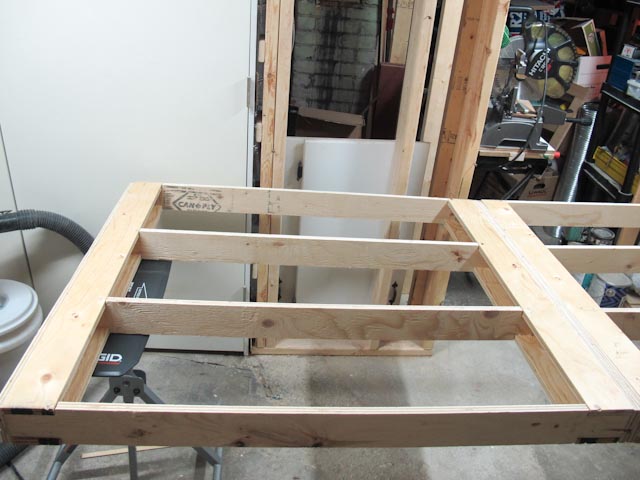
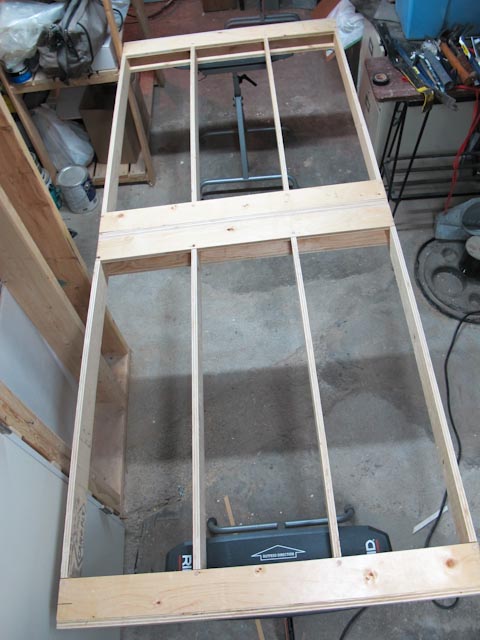
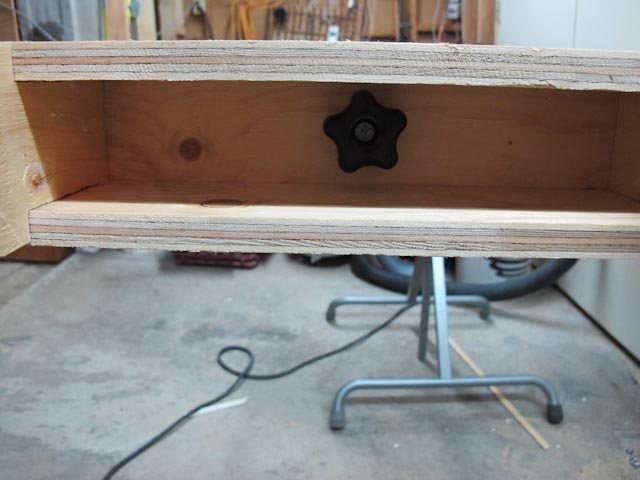
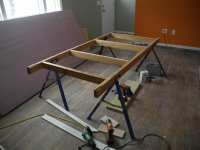
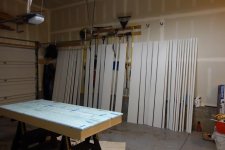
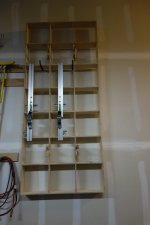
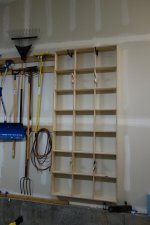
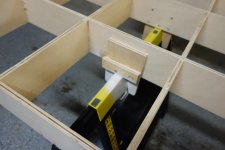
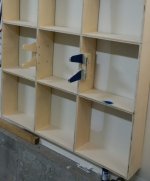
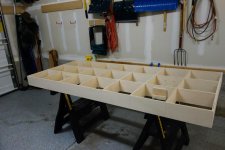
My cutting setup is very modular - basically these 80/20 extrusions w/MDF and then various different means to attach them to the MFT or an 80/20 table frame:

[attachthumb=#]

[attachthumb=#]

[attachthumb=#]

[attachthumb=#]

[attachthumb=#]

[attachthumb=#]

RMW
 

Attachments

  • ply1.png
    ply1.png
    1.2 MB · Views: 1,888
  • ply6.png
    ply6.png
    1.1 MB · Views: 1,464
  • ply5.png
    ply5.png
    1.2 MB · Views: 2,023
  • ply4.png
    ply4.png
    854.5 KB · Views: 1,219
  • ply3.png
    ply3.png
    1 MB · Views: 1,258
  • ply2.png
    ply2.png
    1.1 MB · Views: 1,456
Here's mine, in my messy basement- it's based on one Micheal Standish blogged about on the Fine Woodworking site (March 25, 2009). It uses Miller dowels, so it's 'blade safe', but I can't bear to cut it, so it gets foam on top.  I wanted my setup to break down in half. Total size is seven by three feet.
IMG_1601.jpg

IMG_1602.jpg

IMG_1604.jpg

IMG_1606.jpg
 
Mine's not as fancy as the others.  I love my Trojan saw horse legs.

[attachimg=1]

I add the 2" foam and cut away.  When I'm cutting sheathing for a roof or some such, I skip the foam.
 

Attachments

  • DSCN2434.JPG
    DSCN2434.JPG
    716 KB · Views: 13,711
I made my table very similar to that of jbmhs220 - I even had the same saw horses (that are surprisingly stable).

I added brackets to settle the table on the sawhorses and added nails on the bottom surface for hanging parallel guides during storage.  Next, I will add some removable stops for the front of the table to push the rail against when cutting using spacers rather than parallel guides.  I thought about adding a saw shelf as someone above did, but I decided that turning my garage waste can upside dwon makes a divine saw storage spot.

I used the very lightweight sanded plywood at the orange place to keep the table light.  It ended up at 23 LB, so it is very easy to hang.  I cut my 2" foam for the top to match the table dimensions.  I tried the foam with an overhang, but it got in the way when loading sheets.

It got put to work ripping the first batch of Ranger Board for my whole-house re-trim project that will be ongoing.

[attachimg=#]

[attachimg=#]

[attachimg=#]

[attachimg=#]

[attachimg=#]

[attachimg=#]

[attachimg=#]
 

Attachments

  • trim.jpg
    trim.jpg
    104.4 KB · Views: 4,282
  • On Wall Parallel Guides.jpg
    On Wall Parallel Guides.jpg
    175.8 KB · Views: 4,370
  • On Wll.jpg
    On Wll.jpg
    200.2 KB · Views: 4,524
  • Brace 2.jpg
    Brace 2.jpg
    85.8 KB · Views: 4,207
  • brace.jpg
    brace.jpg
    94.9 KB · Views: 4,260
  • table.jpg
    table.jpg
    123.5 KB · Views: 4,337
  • Table Side.jpg
    Table Side.jpg
    109.3 KB · Views: 5,389
I made outriggers on my MFT/3 for my veneer press.  There are four of them and  I use them as required.
The platen from the outrigger using clear furniture cups.

I have not cut 4 x 8's yet, but I plan to.

outriggers.jpg
 
Walko 4 flat on Stanley saw horses and after dimensioning material

I add an MFT top and or a flat piece of ply and have at it.

Works well for me.

[attachimg=1]
 

Attachments

  • walko-sizes[1].jpg
    walko-sizes[1].jpg
    88.1 KB · Views: 10,386
Have a look for a Keter Folding Workbench, buy a replacement 1080 mft top, fit 2x 3x2 battens underneath the mft top, jobs a good-un.

Keter workbench is great, really portable and very quick to set up. MFT top, well that doesn't need explaining.
 
overanalyze said:
Two sheets of 3/4" ply and a little time....

3y2ata9u.jpg

I built one of these (or at least very close to yours). The only change which was to square up the clamping holes on your table legs with a template (built from scraps) so that holes are squares with rounded corners. Yours is a great design.
 
Jason,

Google "Paulk Workbench" and watch his YouTube videos.  Ron Paulk sells plans for it, as well as a miter saw stand for the Kapex.  May be more than you need, but it was what inspired me to build my own "MFT-style" workbench.  I did not need the bench to break down for transport or storage, so my design is more of a large MFT bench.  Ron does not use his like some use an MFT, relying on benchdogs.  His has 3/4" holes, but for clamping.

He also hangs a small DeWalt table saw on one end, and has embedded a router into the other end. The bench is made from 1/2" plywood (I think earlier versions may have been 3/4" plywood), but is incredibly solid. Its top is two plywood torsion boxes, sitting side-by-side on the sawhorse-like legs, to allow for easier teardown and transport.
 
Another fan of OA table.  I made adj legs for it so I can have it as an out feed table or lower it down for easier assemble of cabinets


The neat thing about his design is you can use it as a 4x4 table as well with no modifications


simple removable leg.  I do have a nut through these, just no pictures.

 
Mine is another of the dirt-simple design.  Next time, though, I'll move the two long outside pieces out by 6" or so to clear the locking levers on the Parallel Guides.  I have, but seldom use, two 2' x 8' slabs of 2" closed-cell foam to use as a splinterguard.  Overall, mine is 4' x 8'.  The lap joints have drywall screws driven in from the bottom to hold the grid together.  It's nothing but really cheap studs from the Borg.  I consider it to be sacrificial.  When it's all cut up, it will go into the woodstove. 


Attachments

  • IMG_20140502_100132.jpg
    IMG_20140502_100132.jpg
    1.7 MB · Views: 1,446
A member here asked me for the plan, I'm about 1/2 way through getting them done (it's been a few months), work keeps getting in the way.

Tom
 

Attachments

  • IMG_3422.jpg
    IMG_3422.jpg
    2.3 MB · Views: 1,547
  • IMG_3419.jpg
    IMG_3419.jpg
    2.3 MB · Views: 1,800
  • IMG_3418.jpg
    IMG_3418.jpg
    2.5 MB · Views: 1,923
Tom,

That is a beautiful cut/assembly table.  I too would be very interested in seeing those plans.
 
Richard/RMW,

I built your freestanding cutting table about two years ago, just about the same but with six members across the top.

I know you move yours around, but mine is stationary with a cabinet built underneath to house saws, a vac and a 30 gal compressor with a hose reel.  Nice and stable and has been terrific for sheet breakdown and some weird clamping with the t-slots.

Thanks for thinking that up for all of us.
 
smartcarpie said:
Richard/RMW,

I built your freestanding cutting table about two years ago, just about the same but with six members across the top.

I know you move yours around, but mine is stationary with a cabinet built underneath to house saws, a vac and a 30 gal compressor with a hose reel.  Nice and stable and has been terrific for sheet breakdown and some weird clamping with the t-slots.

Thanks for thinking that up for all of us.

Awesome! I'm glad someone made use of the idea.

Pop a couple pictures here if you have time, would enjoy seeing how you modified it.

RMW
 
tjbnwi said:
A member here asked me for the plan, I'm about 1/2 way through getting them done (it's been a few months), work keeps getting in the way.

Tom

That is GORGEOUS! More like a display piece than a work table.

I would also like to see your plans.
 
This is such a lovely thread. So many great ideas and solutions to that age old problem of best use of space.

I just use 4 Saw hourses i built when doing my apprentership. I just stick some 40 mm wide chipboard strips to the cross pieces as sacrificial parts with sticky tape.
Put a new layer of clear stick tape on top every now and then when I am painting or oiling. This helps hold the bits together when I forget to set the depth properly.
If I need a clean cut on the bottom then I put long thin strips of chip board under the sheet to be cut lining one up exactly under where I want to cut.
Cheap and easy.
 
Here's my contribution. its collapsible; 3'w x 6' l when open less than a foot when closed. I put it on wheels for mobility. I use 2 notched 2x4s to support the 4x8 sheet of 2" rigid foam.  It's not the prettiest but it's worked very well.
 

Attachments

  • image.jpg
    image.jpg
    917.4 KB · Views: 1,596
  • image.jpg
    image.jpg
    848 KB · Views: 1,313
  • image.jpg
    image.jpg
    2.3 MB · Views: 1,361
Back
Top