bobtskutter
Member
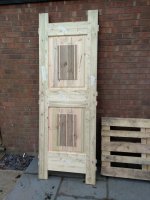
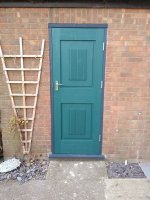
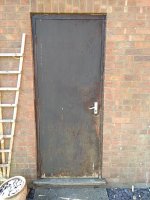
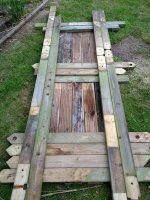
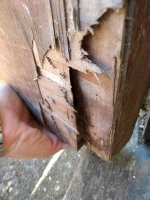
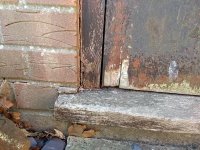
Hello FOG. I needed to build a new side door for the garage. The old one had gone rotten and was falling apart, guess that's what happens if you use an eggbox door externally.
View attachment 1View attachment 2View attachment 3
I checked through my collection of english oak and tropical hardwoods, but none seemed to be suitable, so I looked elsewhere.")
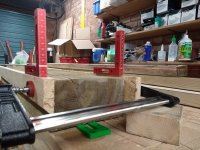
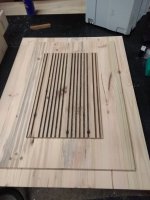
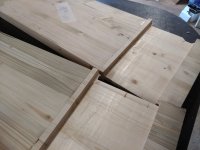
I had a large pile of old garden decking that needed using up, so I used that.
View attachment 4
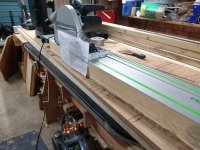
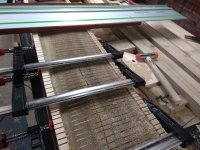
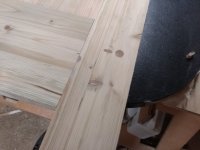
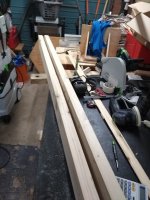
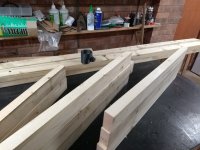
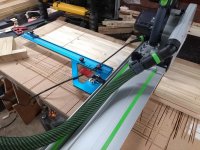
The material was cleaned up with the sander (Rotex125) and 80grit paper. I glued the pieces together for the rails and stiles then patched up the old bolt holes and other damage. I've got quite good at patching up damage to timber in this project - more to follow! I glued 3 lengths of 2x4 to make a board 12inch wide, then cut it down to 2 length both 6inch wide using the TS75 and FS3000. The saw just laughed at the timber, the new CT36 dust extractor did a great job with the saw dust.
View attachment 5View attachment 6View attachment 7
More to follow...
View attachment 1View attachment 2View attachment 3
I checked through my collection of english oak and tropical hardwoods, but none seemed to be suitable, so I looked elsewhere.
I had a large pile of old garden decking that needed using up, so I used that.
View attachment 4
The material was cleaned up with the sander (Rotex125) and 80grit paper. I glued the pieces together for the rails and stiles then patched up the old bolt holes and other damage. I've got quite good at patching up damage to timber in this project - more to follow! I glued 3 lengths of 2x4 to make a board 12inch wide, then cut it down to 2 length both 6inch wide using the TS75 and FS3000. The saw just laughed at the timber, the new CT36 dust extractor did a great job with the saw dust.
View attachment 5View attachment 6View attachment 7
More to follow...
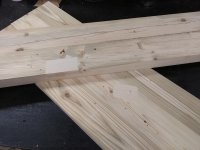
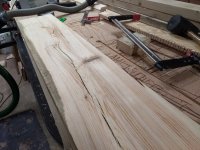
 More patching up!
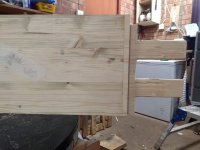
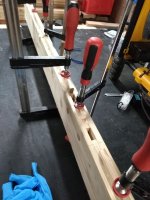

") (The large dowel in the photo is a patch to cover a bolt hole).
(The large dowel in the photo is a patch to cover a bolt hole).