MacBoy
Member
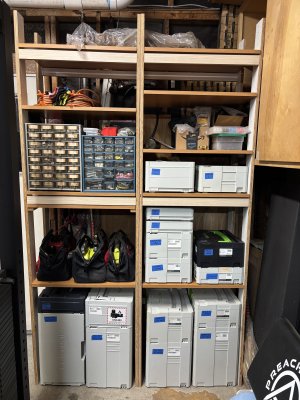
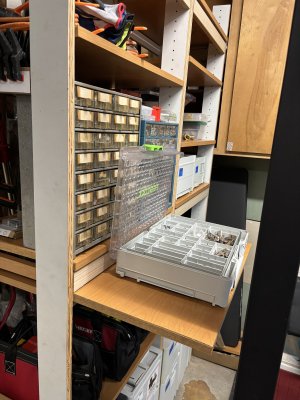
Got tired of the stacking game and finally did something about it.
I was able to use reclaimed or ultra-cheap materials:
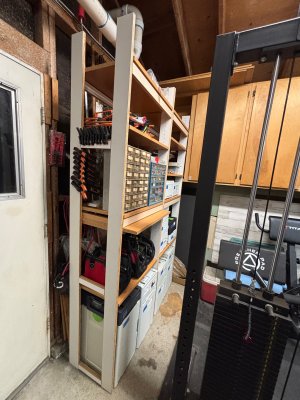
The next day I was frustrated with “Where do I put these screws? Can I just open a systainer and grab something from it?”
So I installed a pull-out shelf that slides on wood runners. That was a tip learned from Sedge’s garage shop. The pull-out shelf closes flush — I had forgotten to shove it all the way back in the photo.
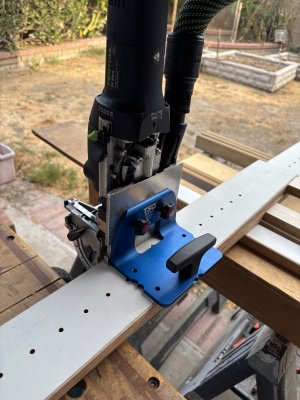
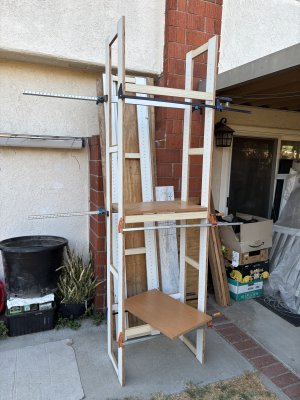
The LR32 kit was used for the shelf pin holes. This time I made the length of the verticals to be a multiple of 32mm — it’s such a delight to have balanced boards for the snug fit between the LR32 spacers.
All the edges were rounded over with a router on the UG underframe (mobile cart) of the CSC SYS 50 table saw. That Underframe cart is way too low to do any work directly on it — lesson learned.
It’s a pleasure to do clamping with the Sash Clamps. The F-clamps are awkward and heavier in comparison.
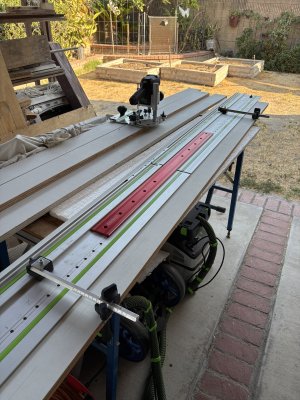
I could not find the Betterley Alignment Tool. So I used the Woodpeckers 36” Straight Edge to check for any wobble on the rib of the combined LR32 tracks. A wood block with a rubber mallet helped to get the tracks aligned.
A few days later, found the Betterley Alignment Tool a few days later sitting on table of the unused scroll saw.
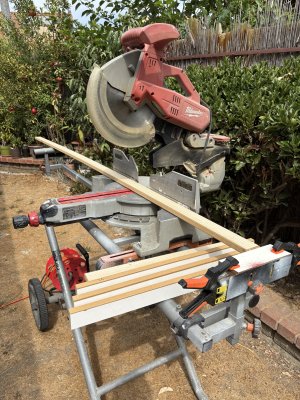
On the Miter Saw, I found a random scrap block for the Stop Block. However, squint to see the 1mm yellow shim for that just right measurement. The extension on that side of the Cart is frozen — it does not move. Someday I will fix it.
Face Mortises are so much easier with the TSO Bigfoot. I have much more confidence in the placement and stability of the Domino when using the Bigfoot. However because of the weight and awkwardness, I don’t use the Bigfoot when doing edge mortises.
End Mortises into the Rails were done by using the Trim Stop accessory. That saves a lot of time and it’s so much easier than aligning to a pencil line.
I should’ve reversed the width of the mortises. The MDF rails had Medium width end mortises. The plywood uprights had Tight width face mortises. I now realize for strength, the MDF narrow rails should receive Tight width end mortises.
I was able to use reclaimed or ultra-cheap materials:
- MDO plywood discards from an ADU builder
- Shelves put out on the sidewalk
- Dual-laminated MDF for $10 a 4x8 sheet from a cabinetmaker (mistake purchase of 200 qty)
The next day I was frustrated with “Where do I put these screws? Can I just open a systainer and grab something from it?”
So I installed a pull-out shelf that slides on wood runners. That was a tip learned from Sedge’s garage shop. The pull-out shelf closes flush — I had forgotten to shove it all the way back in the photo.
The LR32 kit was used for the shelf pin holes. This time I made the length of the verticals to be a multiple of 32mm — it’s such a delight to have balanced boards for the snug fit between the LR32 spacers.
All the edges were rounded over with a router on the UG underframe (mobile cart) of the CSC SYS 50 table saw. That Underframe cart is way too low to do any work directly on it — lesson learned.
It’s a pleasure to do clamping with the Sash Clamps. The F-clamps are awkward and heavier in comparison.
I could not find the Betterley Alignment Tool. So I used the Woodpeckers 36” Straight Edge to check for any wobble on the rib of the combined LR32 tracks. A wood block with a rubber mallet helped to get the tracks aligned.
A few days later, found the Betterley Alignment Tool a few days later sitting on table of the unused scroll saw.
On the Miter Saw, I found a random scrap block for the Stop Block. However, squint to see the 1mm yellow shim for that just right measurement. The extension on that side of the Cart is frozen — it does not move. Someday I will fix it.
Face Mortises are so much easier with the TSO Bigfoot. I have much more confidence in the placement and stability of the Domino when using the Bigfoot. However because of the weight and awkwardness, I don’t use the Bigfoot when doing edge mortises.
End Mortises into the Rails were done by using the Trim Stop accessory. That saves a lot of time and it’s so much easier than aligning to a pencil line.
I should’ve reversed the width of the mortises. The MDF rails had Medium width end mortises. The plywood uprights had Tight width face mortises. I now realize for strength, the MDF narrow rails should receive Tight width end mortises.
Attachments

Last edited:

