iamnothim
Member
- Joined
- Feb 5, 2014
- Messages
- 1,435
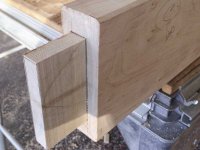
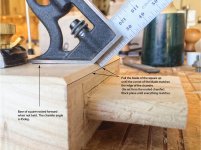
RLJ-Atl said:Chamfers look good. Did you use a router to do the chamfers? What size bit? Or which tool?
Thanks,
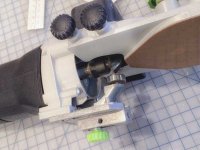
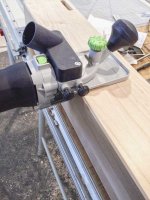
I used an MFK 700 in the trim configuration. The router doesn't have a lot of range, bits & travel, but what it does, it does well and very easily. I think it came with the chamfer bit. It's a Festool bit but I don't have the part number.
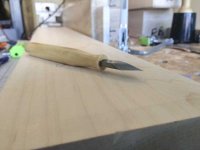
I have to take care of some burn marks on long pieces where I repositioned my body before resuming. Probably should have take the router away from the workpiece.
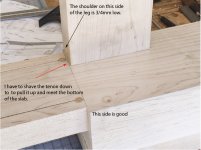
[attachimg=1]
[attachimg=2]