simnick
Member
I'm pretty sure Bott designed them, but I wasn't implying they were cheap. They were likely looking for the best strength to weight to functionality balance, within the constraints of injection molding, which is very different than FDM/3d printing. They didn't find that adding more to the base helped for their design criteria.mino said:I am pretty sure Tanos engineers did not look at "minimum material" even for a minute. Not at the prices they sell these things.simnick said:Having fun printing these and other things on my new printer, and just started learning Fusion based on your recommendation.
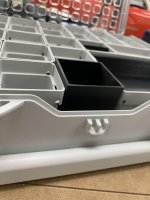
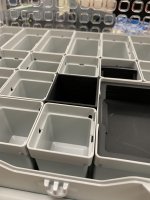
Any reason why you streamlined the sides, but did not make the bottom simpler? Given that you need to print supports anyways, why not build them into the design? The 25*100 bins would be a lot more stable if more of the wall went all the way to the bottom.
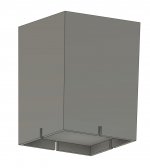
The Boat/Tanos/Festool design is optimized for least plastic when injection molding, but for FDM printing, I think it might want to look a bit different.
Once I make some more progress with F360 I'll give my idea a try, but I'd think it should look more like the negative of the floor puzzle.
Also, you could make the bases wider for a tiny bit more capacity.
They most likely looked at an optimal combination maximum usability/practicality and maximum space efficiency. In that order. Once they had the shape to provide those, the thickness of the walls was a question of good durability at acceptable weight.
If Tanos is known for anything, it is they do not choose shapes that are easy to mold. They specialize in "crazily" complicated molds to provide otherwise unavailable capabilities at premium prices.
To the topic.
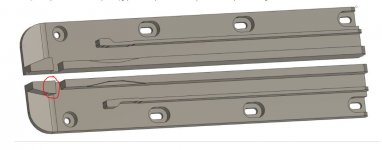
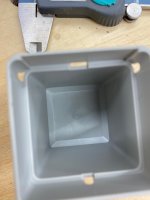
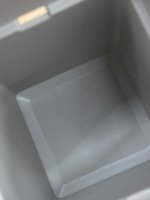
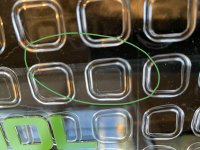
Pure vertical boxes are a PITA to insert as you must fit them exactly into the hole and cannot take advantage of the self-guiding property of a tapered shape.
If you want to increase usable volume, you may try to create a vertical "colar" up to 1/2 the height or so and taper only the bottom. But one thing you do not want for practical use is a pure vertical shape bottom-to-top.
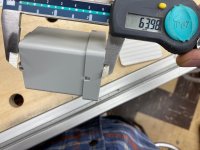
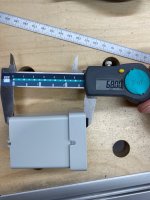
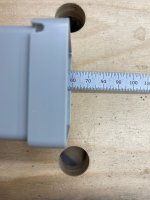
BK Makes has added new sizes, including half sizes, to the Bott design. The foot design originally was designed for minimum of 50mm. I'm suggesting that the foot design might be different when there are 25mm sized containers, and when you need to print supports anyways.
") ...the primary reason I didn't mess with the base was because I wanted them to continue working just as the original Bott ones did. There's definitely room for improvement there on the FDM front; going straight down to the base, but leaving the "cutouts" for when it straddles the 50mm "dividers" would likely work. A negative of the floor puzzle is also a fantastic idea!
...the primary reason I didn't mess with the base was because I wanted them to continue working just as the original Bott ones did. There's definitely room for improvement there on the FDM front; going straight down to the base, but leaving the "cutouts" for when it straddles the 50mm "dividers" would likely work. A negative of the floor puzzle is also a fantastic idea!

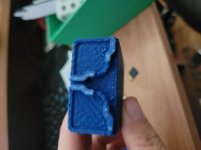
![bad 3d print 20210903_101243[724].jpg](/data/attachments/67/67463-6b400c65ddc4f0e6d7765f781fc108dc.jpg?hash=Q1O-DAWsE2)