Brice Burrell
Member
- Joined
- Mar 13, 2007
- Messages
- 7,325
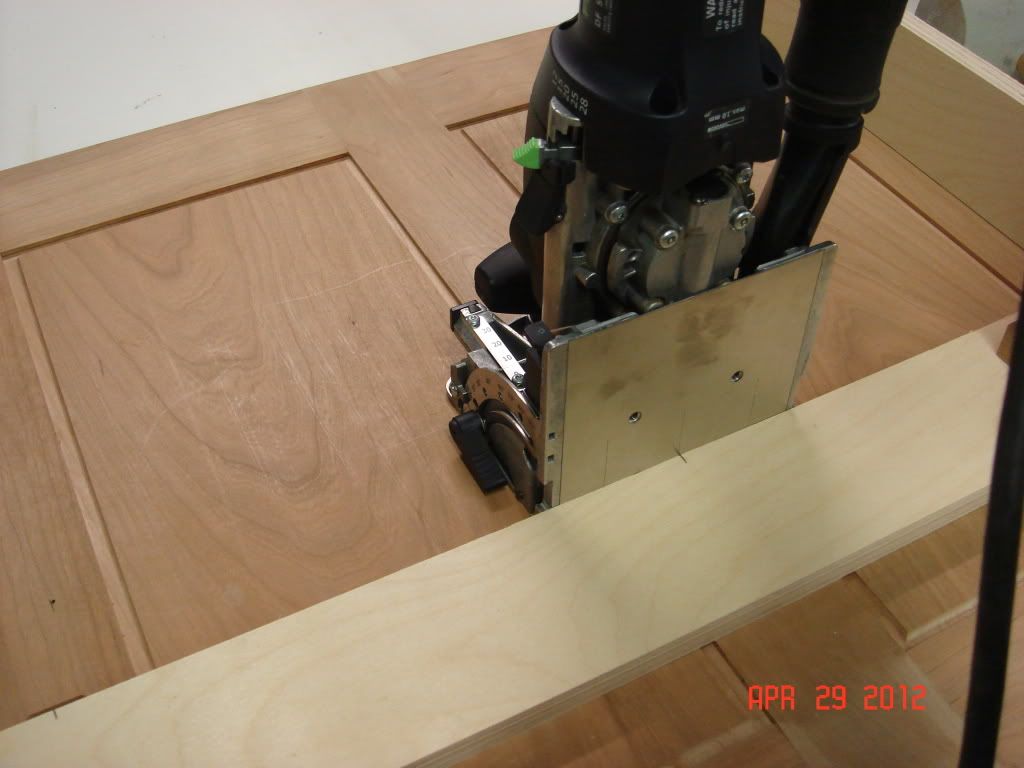
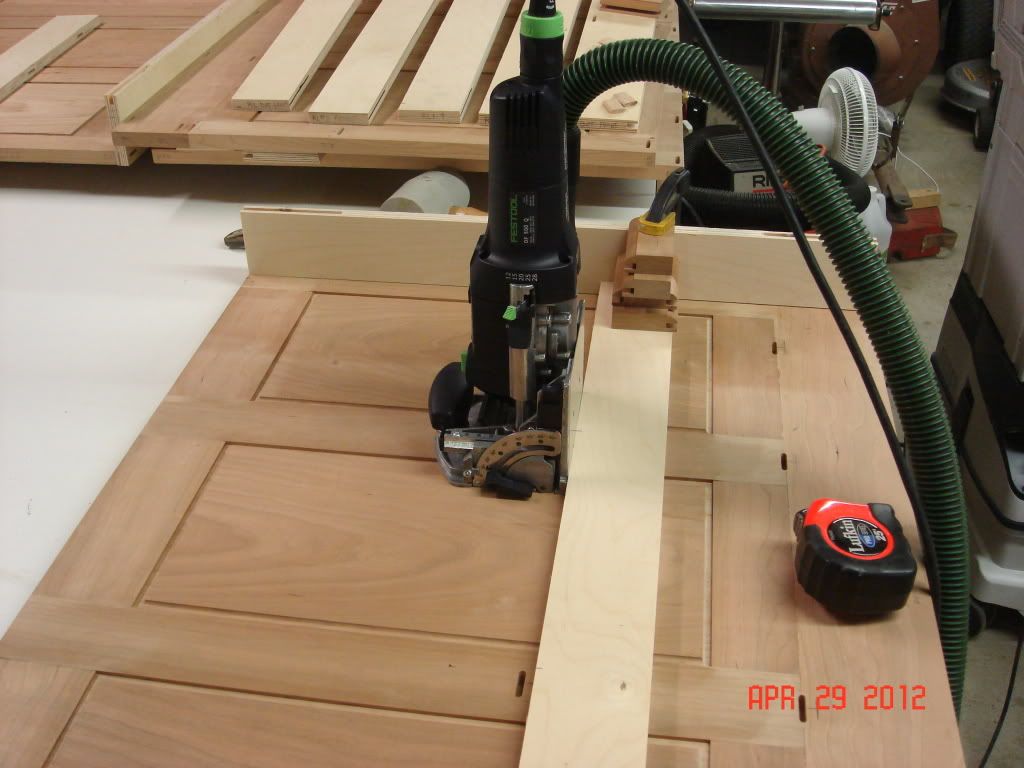
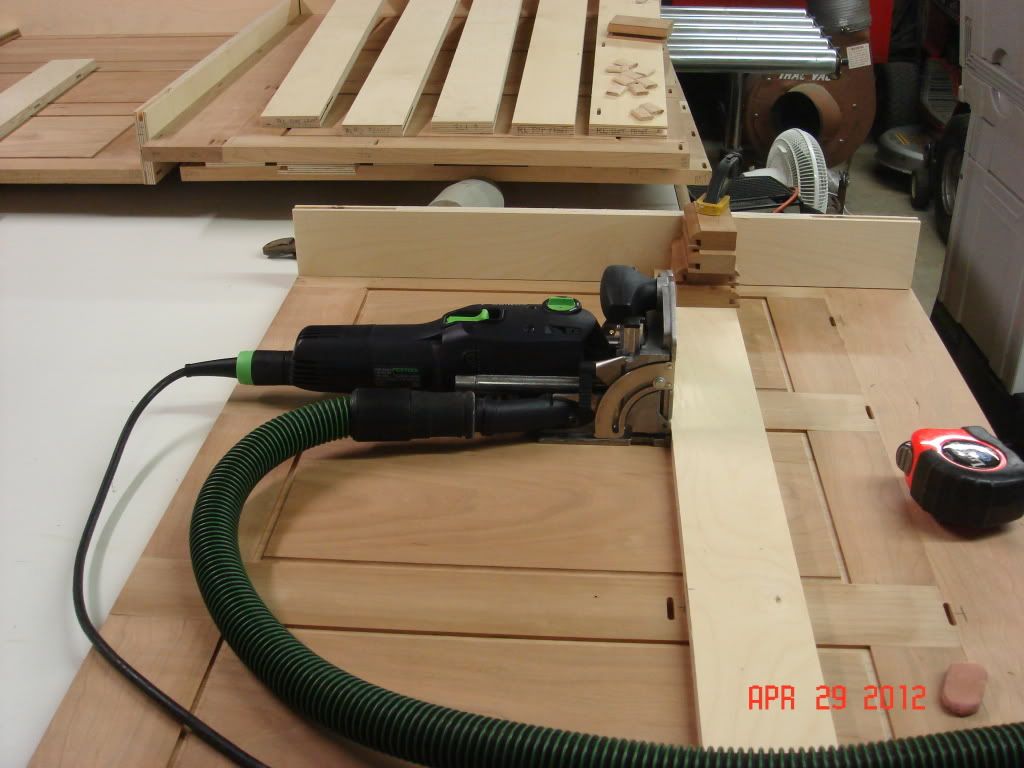
Len Coleman said:After finishing some dominos today I was thinking why not use my MFS as a backer........course I thought of it after I was done. Question I have the smaller MFS set and needed more than the 400 to span the length. Is there a connector to link two 400s together?
Len
I've done that myself with Qwas dogs. As Peter said the guide rail connectors work in the MFS profiles as well.
[attachthumb=#]
[attachthumb=#]