I started polishing with plain Randon Orbit Sanders and foam pads long ago before I had more dedicated machines to work with. They fine, they're slower than High Orbit or High Throw machines, but safer for someone just starting out. As noted by others above, the 'FAST' machines back in the day were heavy, rotary only, and the easiest to burn through a layer of paint if you weren't careful.
Rotex mode will work fine if you have a Rotex, a straight ETS EC will work too, just allow for more time, and not as much defect removal as a more powerful machine.
ALSO, very important, if you're switching usage for your single sander between projects and your car's paint, PLEASE vacuum or blow out debris and stray abrasive dust before you start polishing the paint on a Car. You don't want that single BLOB of hard dirt or abrasive getting between your pad and the paint after it fell off the sander.
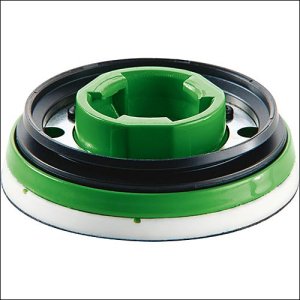
Griots Garage is another source of Polishers. I own two of them, 6" and 3", and I also have one Festool Shinex, and a 3" pneumatic polisher.
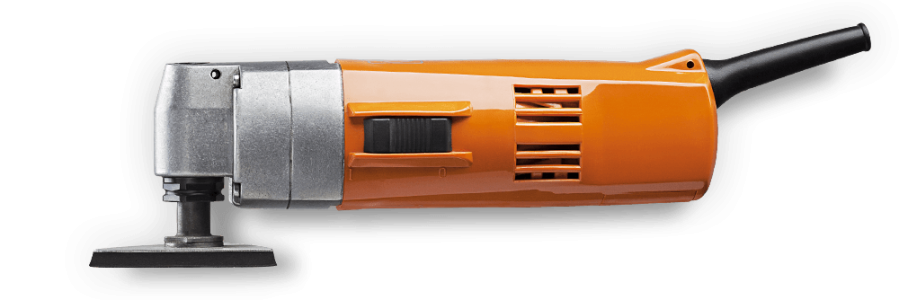
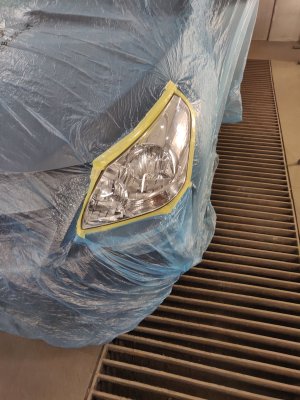
Plus one on using the RO 90 for Headlight Lens Renovation..
")
")
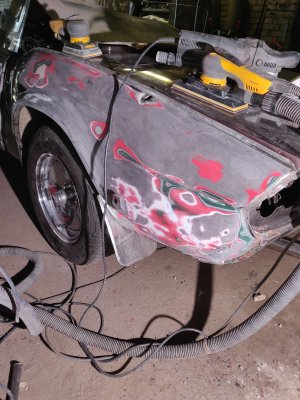
") ... but worth to know about. The cars in question both have fully original paint... amazingly.
... but worth to know about. The cars in question both have fully original paint... amazingly.