Cheese
Member
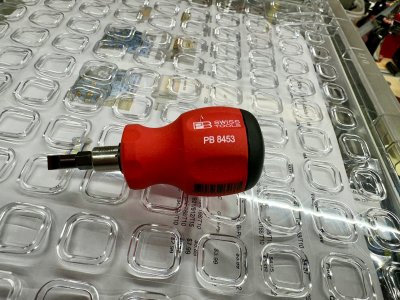
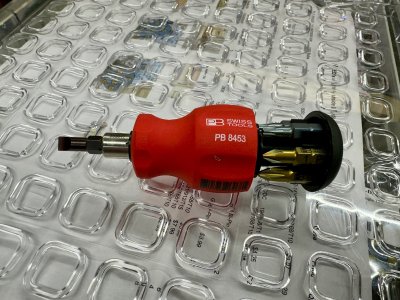
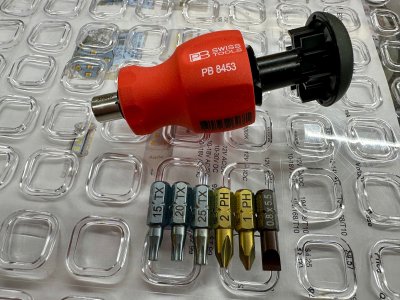
A local toolshop had a similar Milwaukee one at a fantastic price so I bought a bunch and keep one in numerous locations as well as gave one to all family members as they're just so handy!With all of the different fastener drives that Festool uses on their routers, I keep one of these in the 1010 and 1400 Systainers. Small, compact just perfect for changing out router items.
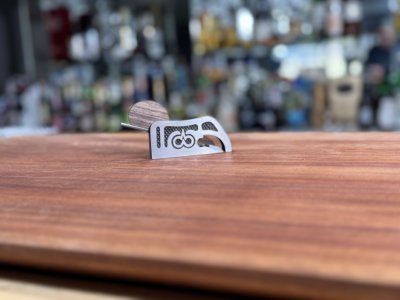
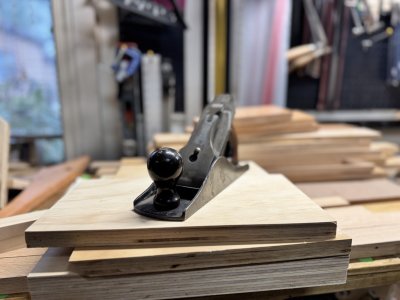
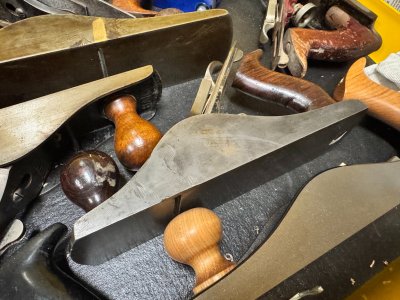
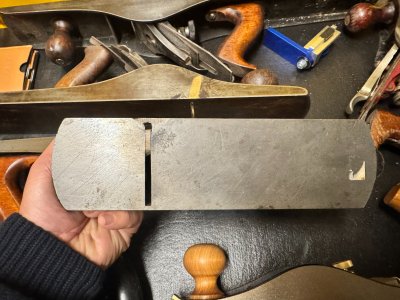
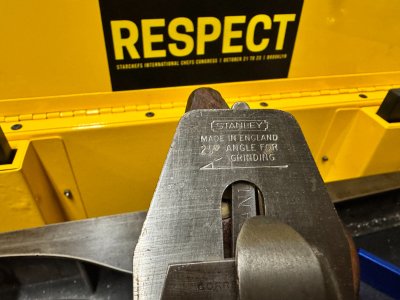
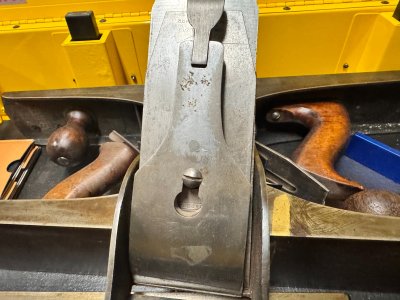
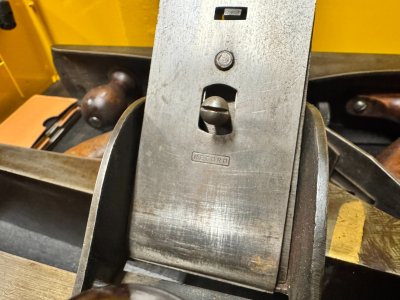
Nice!Went to the Brown Tool Auction Dealer Show today and picked up this Stanley Bailey Type 10 No. 4 1/2 plane for $60. Overall, it’s in good condition for its age with no rust but the metal of the sole is a bit scratched and gouged on the left side. I don’t think it will interfere with flatness or operation of the plane.
I’ve really been enjoying working in some hand tools into the woodworking lately.
To find out if the gouge is an issue, I’d draw a pattern of Sharpie marks across the entire sole. Tape a full sheet of 600 grit silicon carbide abrasive paper to the flattest surface you have, either a tablesaw or a big sheet of stone tile. Then strike the plane sole (blade withdrawn) across the abrasive a couple times. Check the sole to see where the high spots are. If the gouge is deep it would have displaced some iron making a high spot and the Sharpie marks would be erased, unless a previous owner took care of it.Went to the Brown Tool Auction Dealer Show today and picked up this Stanley Bailey Type 10 No. 4 1/2 plane for $60. Overall, it’s in good condition for its age with no rust but the metal of the sole is a bit scratched and gouged on the left side. I don’t think it will interfere with flatness or operation of the plane.
I’ve really been enjoying working in some hand tools into the woodworking lately.
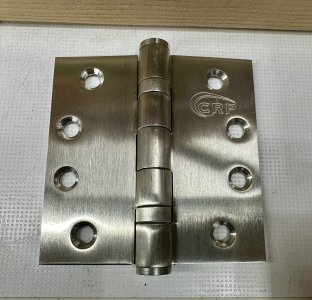
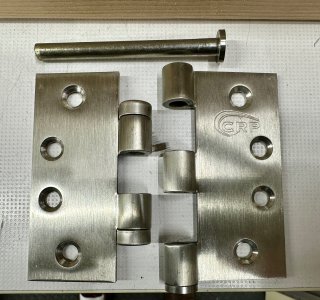
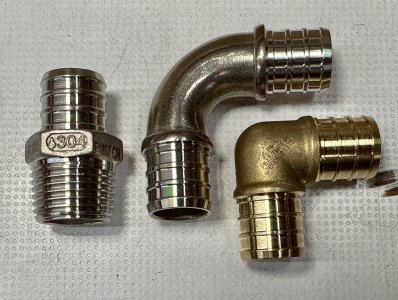
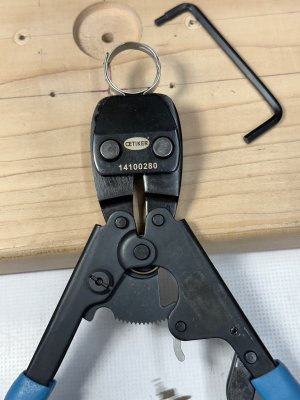
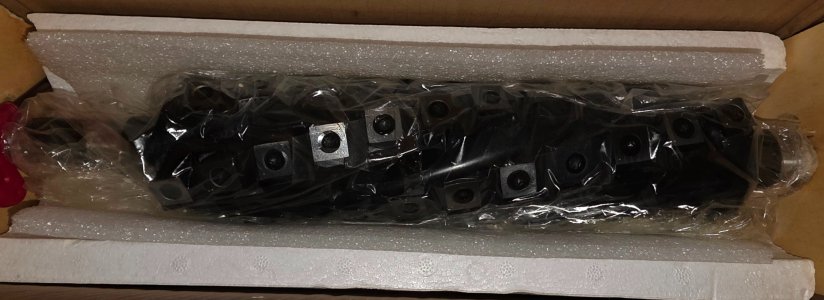
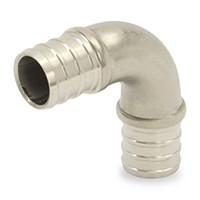
So these but mostly the hinges…where did you buy them ? Thx304 stainless steel large radius elbows for PEX tubing...compare the normal brass elbow to the large radius elbow...the large radius elbow probably provides at least a 20% gain in flow volume. It's also nice because if you use the traditional large radius copper elbow for PEX tubing, you'll then also need to sweat solder PEX connections on to each end of the elbow. Here's a neat package which simplifies the installation. The stainless PEX fittings are made by Boshart...a Canadian manufacturer...famous for their stainless valves.
That is a common presumption but was proven wrong in some properly controlled testing in Oz some years ago. I can't remember the exact results and finding the tests would take more time than I am prepared to spend looking for them. They were done by a physics professor in Perth WA so he had the credentials to support his findings.304 stainless steel large radius elbows for PEX tubing...compare the normal brass elbow to the large radius elbow...the large radius elbow probably provides at least a 20% gain in flow volume.
")

For the hinges:So these but mostly the hinges…where did you buy them ? Thx
 pexuniverse.com
 pexuniverse.com
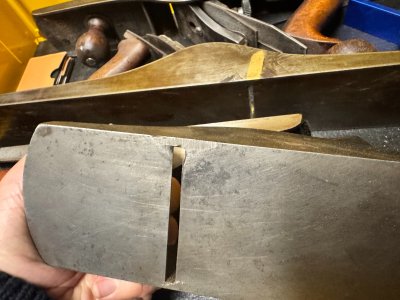
Thank you. I do plan on working on the sole (one of these days). One of the tool dealers I've come to know and work with saw me looking at it (it was being offered by Brown's) and made some notes that he thought the sole had been braised. His expertise notices details that my neophyte eyes don't even comprehend. However, the asking price was good enough for a 4 1/2 that I thought it would be worth the risk and learning (despite having at least three planes "in the works").To find out if the gouge is an issue, I’d draw a pattern of Sharpie marks across the entire sole. Tape a full sheet of 600 grit silicon carbide abrasive paper to the flattest surface you have, either a tablesaw or a big sheet of stone tile. Then strike the plane sole (blade withdrawn) across the abrasive a couple times. Check the sole to see where the high spots are. If the gouge is deep it would have displaced some iron making a high spot and the Sharpie marks would be erased, unless a previous owner took care of it.
If there are still very localized high spots they can be scraped down. I use the back side of 4” wall scraper blades. The square edge is hard and sharp enough to remove a little material. You can bend it a little to reduce the length of the blade that contacts the sole so you don’t add scratches in good areas. It’s better to take a little too much off in a small area than leave a high spot.
Then do a couple more swipes across the abrasive. You don’t necessarily have to erase all the marks, just get a pattern that indicates the plane is supported by the perimeter (so it doesn’t rock). However, if the the plane heavy use on edges (narrower than the plane) then it might have become concave and you’ll need to get serious above flattening the sole, if the plane is worth fettling for use. This is just stage one.
By the way those wall scraper blades are also good for general scraping of wood. Not as effective as a properly set up cabinet scraper you get instant gratification by just popping a new blade out of the pack.
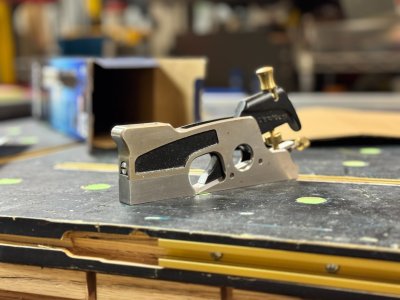
Very nice indeed!Another tool I picked up over the weekend is this Vertias Medium Shoulder Plane. I used a friends plane a couple of months ago and really liked it over the Stanley/Lie-Nielsen type and have been planning on getting one at some point in the future. Came across it on Marketplace and since I happened to be traveling in the sellers area, I got a deal and saved over a hundred bucks on a new one from Lee Valley.
I assume you're talking about this item. However, as I no longer do off-site work, I no longer feel the need. It is pretty sweet though...i ordered the Mafell guide rail set… holy Batman the cost!
I could’ve cut my existing Bosch rail and picked up a few joining plates…. But by the time I ordered the 3 joining plates and another systainer it would’ve been nearly the same price.
While I was at it I grabbed an L137 sustainer as well. I plan to break down my BENCHDOGS UK parallel guides to fit inside and transfer the new rail set over giving me two boxes to grab. The combo rail/parallel guides and my KSS 40 in its systainer.
I think this will be more portable in the long run than the current rail bag and kss 40 systainer solution.
If only they’d introduce sortainers in the L series…. I could so a lot with that.

That’s the one! Another positive experience with the us distributor, Timberwolf, as well. I had the item in hand less than 48 hours of placing my order.I assume you're talking about this item. However, as I no longer do off-site work, I no longer feel the need. It is pretty sweet though...
Guide Rail Set F-MS MAX3
Compatible with the following Mafell tools:MT55cc Plunge/Track SawMT55 18M bl Cordless Plunge/Track SawLO 65Ec Hand RouterKSS 300 Cross-Cutting SystemKSS 40 18M bl Cordless Cross-Cutting SystemK55cc Circular SawK55 18M bl Cordless Circular SawK65cc Circular SawK65 18M bl Cordless Circular...www.timberwolftools.com