tjbnwi
Member
- Joined
- May 12, 2008
- Messages
- 7,381
Decided to revive this thread rather than start another. Gives those who have not seen this thread an opportunity to see it and keeps the improvements in one place.
Wanted a way to adjust the fence without having turn the hand wheel so much. Eventually I will add the micro adjust, just have to figure out how.
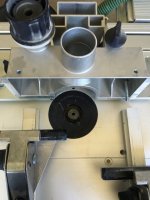
Repurposed a couple of the parts from some extra angle heads I had laying around.
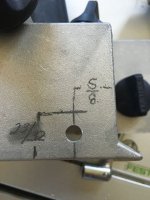
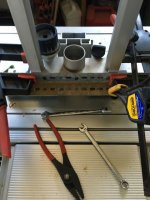
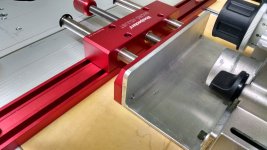
Original drilling for WP micro adjust. Never installed it, decided to go a different route. View attachment 1
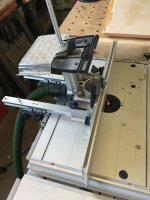
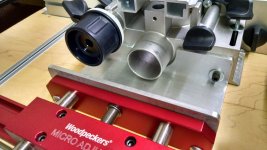
New hole location.View attachment 2
UHMW tape, creates a glide surface.View attachment 3
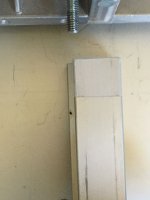
Had to relieve the bar to accept the jamb nut.View attachment 4
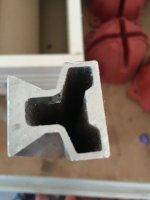
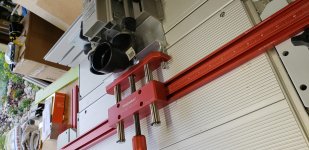
Piece of perforated angle iron to align the struts.View attachment 5
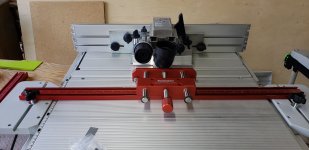
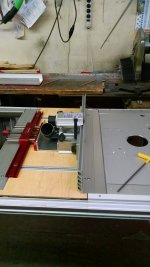
Installed, I'm going to get a couple of acorn nuts to cover the ends of the threaded rod.View attachment 6
Tom
Wanted a way to adjust the fence without having turn the hand wheel so much. Eventually I will add the micro adjust, just have to figure out how.
Repurposed a couple of the parts from some extra angle heads I had laying around.
Original drilling for WP micro adjust. Never installed it, decided to go a different route. View attachment 1
New hole location.View attachment 2
UHMW tape, creates a glide surface.View attachment 3
Had to relieve the bar to accept the jamb nut.View attachment 4
Piece of perforated angle iron to align the struts.View attachment 5
Installed, I'm going to get a couple of acorn nuts to cover the ends of the threaded rod.View attachment 6
Tom