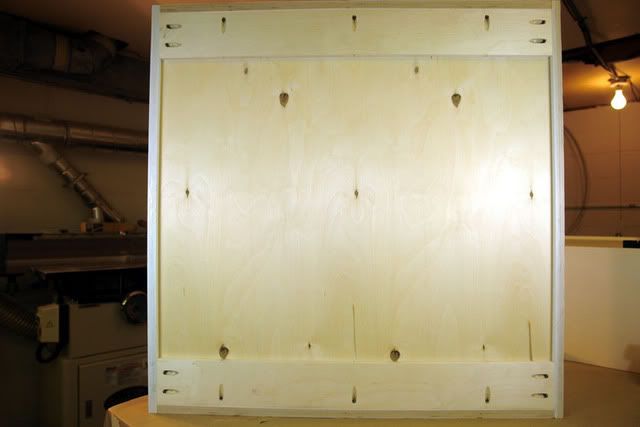
With the case woodworking complete we'll get to the hardware and doors.
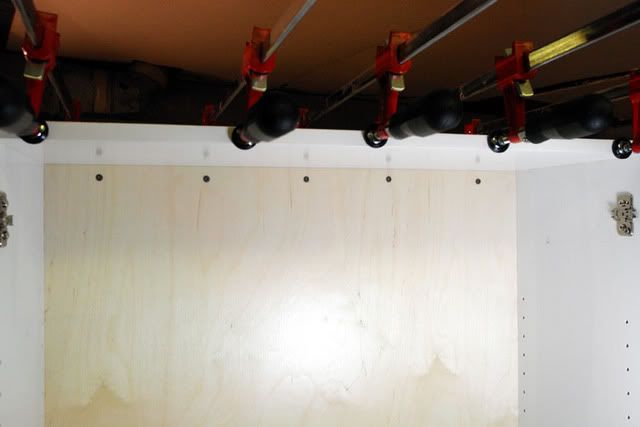
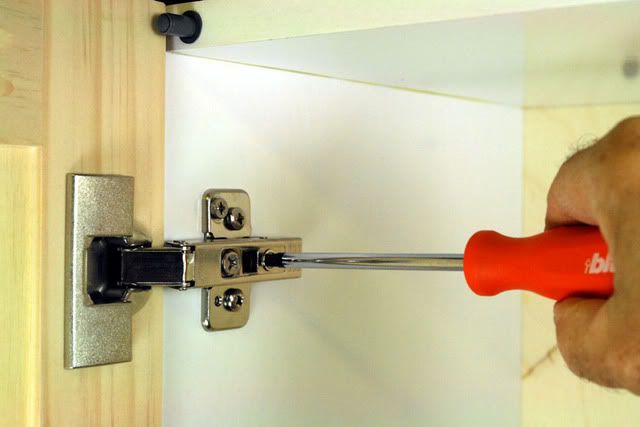
We"ll install the Blum # 173H710 cam adjustable hinge mounting plates. An easy process, small arrows point outward towards the door. The plastic dowels fit perfectly in the 5mm holes and while tightening the screws they expand while gripping the fixture down flat.
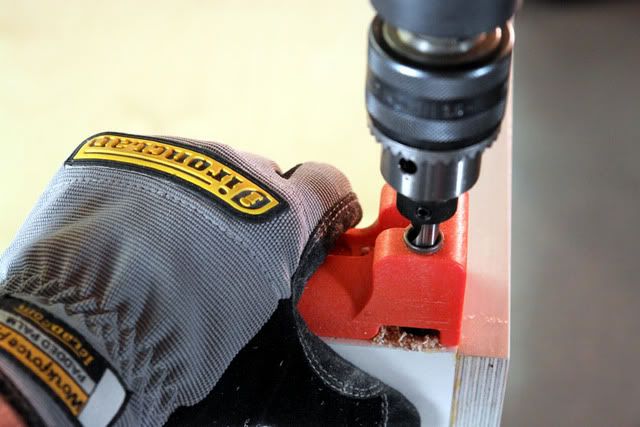
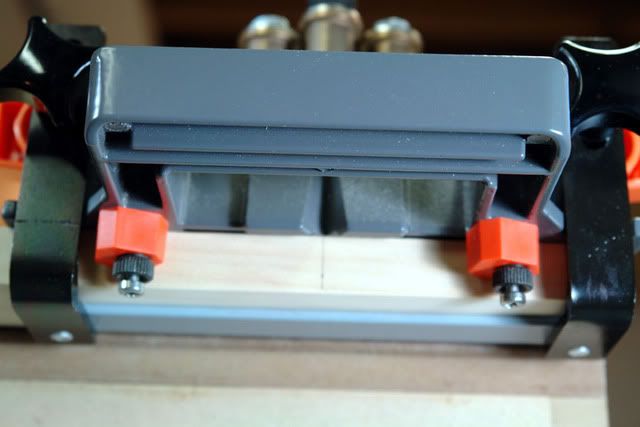
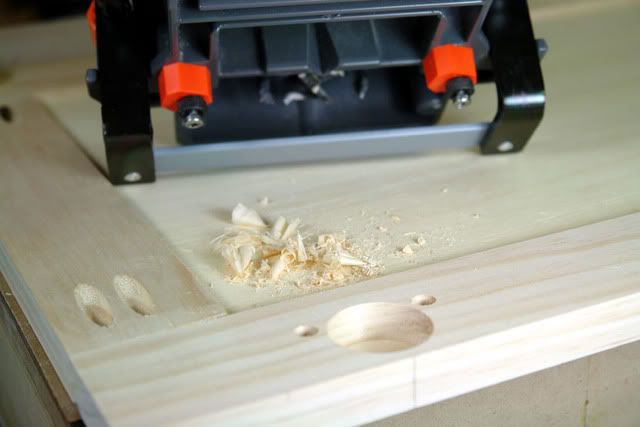
Using the Blumotion locating and drilling jig is a rush.
")
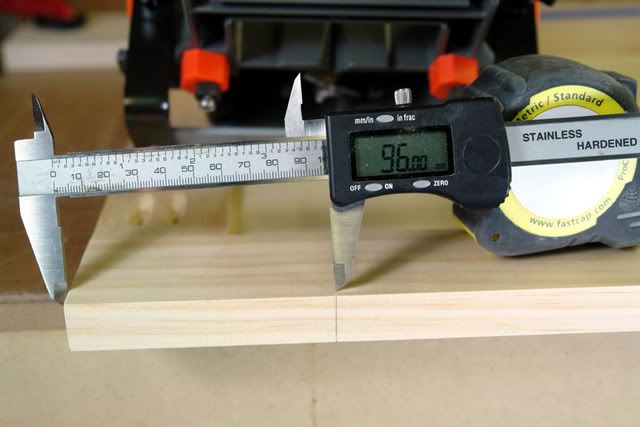
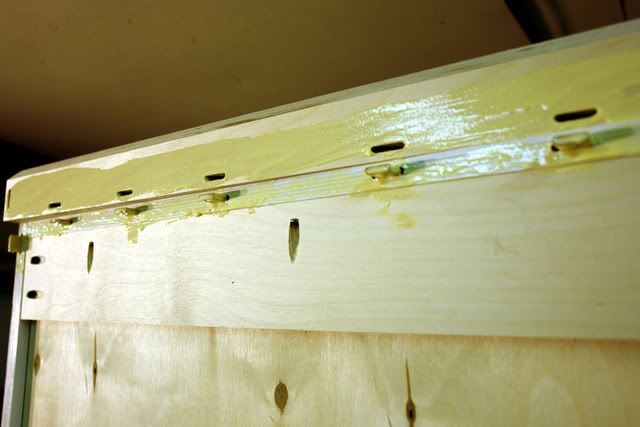
We need to drill a 10mm (25/64) hole 2" deep into the edge of the ply. This helps keep the bit straight. Steady and light pressure. Have the bondo ready. ;D No it's not that bad.
Locating the piston / plunger Update Detailed information on locating the plunger 970A can be found on the Blumotion for doors brochure. (3.26mb file)
http://www.blum.com/pdf/BUS/1077_bmn4d_b/1077_bmn4d_b.pdf Page 16 and 17.
There are many other soft close choices including the snap onto the standard hinge type such as the 973A. No drilling or special tools required.
There is a Blumotion option for just about any application. Pick the model and check the specs to match with hardware.
The installed location shown is off by about an inch. The correct location per Blum specs, using the combination of 0mm mounting plates and overlay doors should be 32mm from the inside corner of the cabinet, in the same general location but a little furher away from hinge.
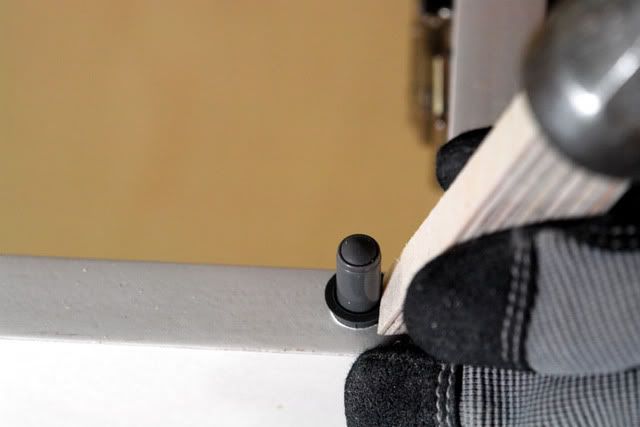
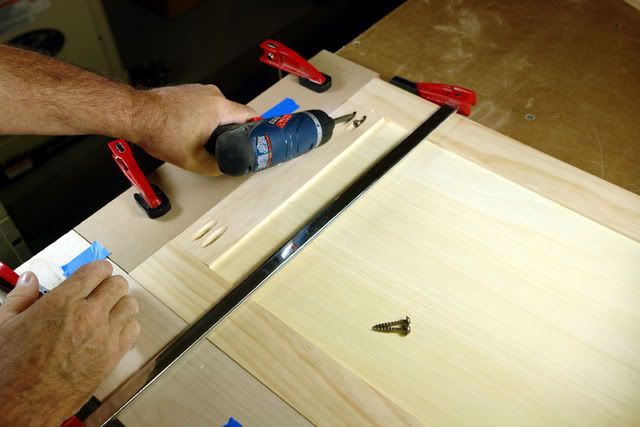
Then we'll tap the Soft Close plunger down into place. We have one per door, upper hinge side - right and left on the front edge of the top panel.
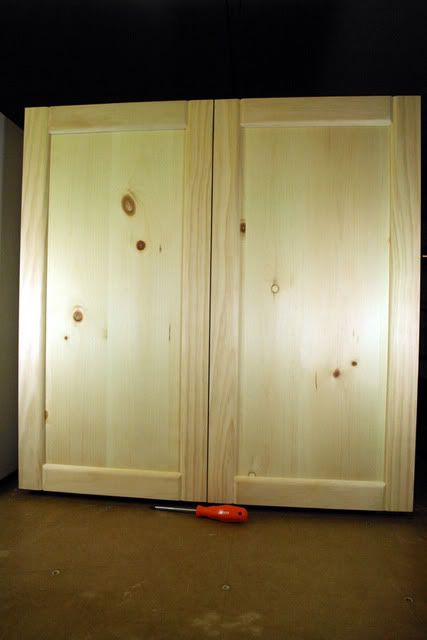
That completes the case and now onto the doors.
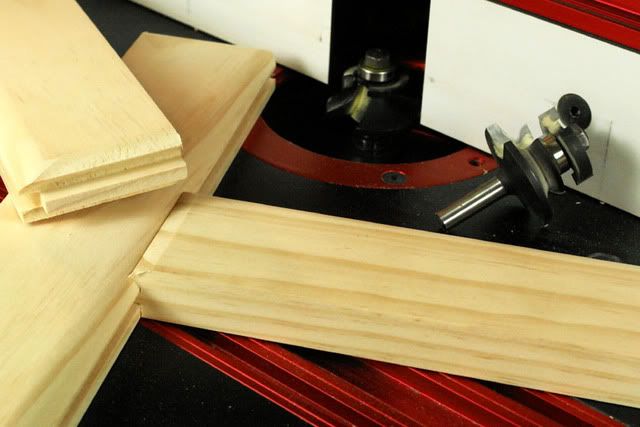
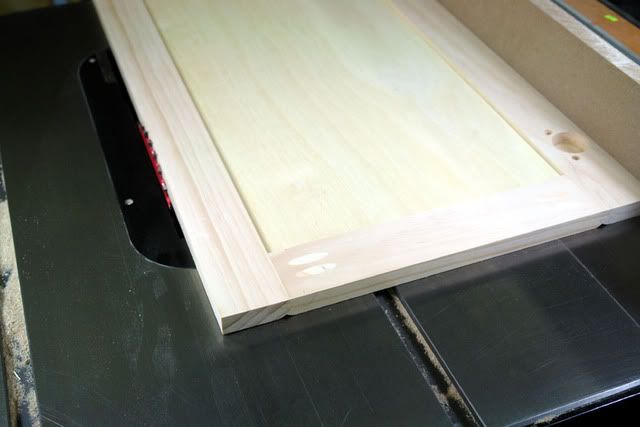
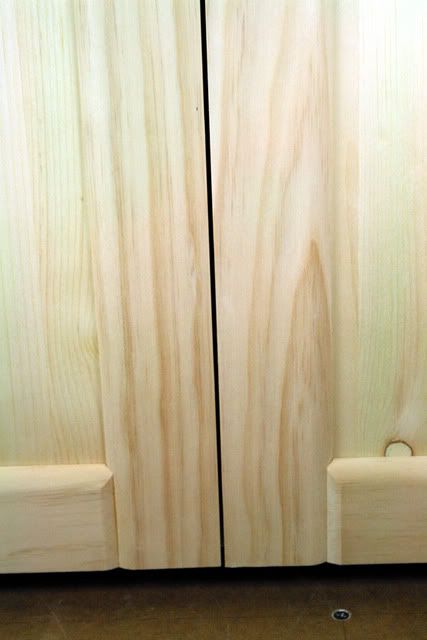
Plenty of options here. I will use a stile and rail set by Festool. I get my door dimensions by the using the actual outside case measurements. And since I will have a double door I'll split it in half and I'll make my doors so as to have no gap and no reveal. We're using Full Overlay hinges. After door completion I will create a door gap by trimming the mating edge of each door a bit, 1/32" or so each. And if I wanted a little reveal I will still make the door full size at this time.
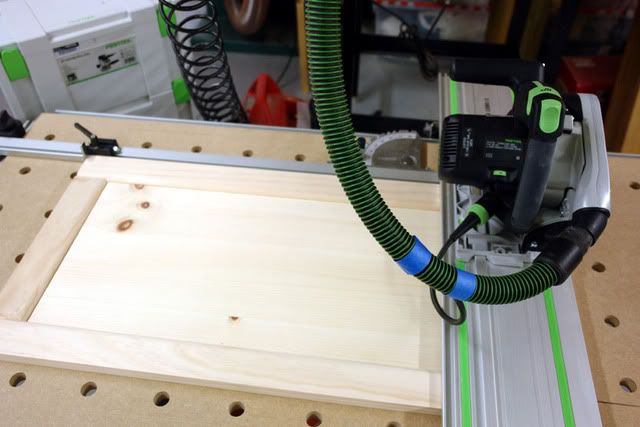
Here is the Festool set that I used #491129 stile bit and #491130 rail bit.
The stock was machined on a Jessem router table. A slow speed was used and plowed out the profile in one big gulp. (soft pine) With a second pass to clean up. One minor issue or comment on the set: the center gap is less than 1/4" by enough that for my application I had to widen the gaps of all the parts a bit to receive the 1/4" panel that I used in the center of the doors. Some very minor sanding before assembly to clean up fuzz. The profile is smooth and pleasing to the eye. Nice looking set. The stile and rail stock was 3/4" clear pine and sized at 2 1/4"
If using slab doors I would tape only the hinge side of each door and leave the other three edges of each door unfinished until fitting is complete.
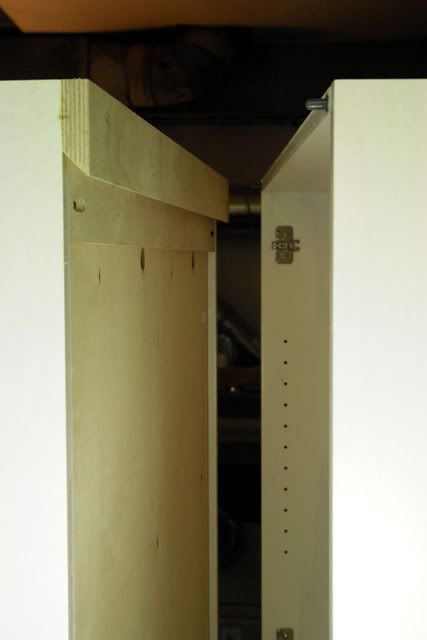
When the doors are ready we will drill the three hole hinge cup pattern in the back side of each door, and then fit them.
 back in the opening post as to hinge Type and Numbers. I had stated that we want Free Swing - this is incorrect. We want Self Close or SC 71T5590. The free swing hinges are not "spring loaded" and will not pull themselves closed with the Blumotion Soft Close Plunger. The hinge shown is in fact a Self Close 120 Inserta. But the number on it says 70T5590 ? .
 (We will now have a moment of silence for Dave.) May he rest in peace! :'(
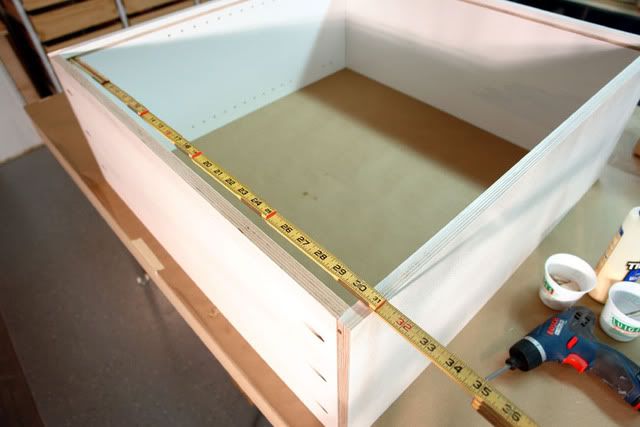
")