onocoffee
Member
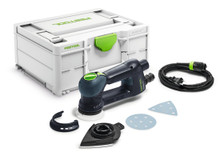
The shields covering the headlights on my eleven year old truck have started to get cloudy and I would like to polish them. Of course, I would like to use the Festool product but that's quite a pricey proposition for the bottles and the pads. Do you have some recommended products to use instead? I have both an RO90 and RO150 to do the job.
Thanks!
Thanks!
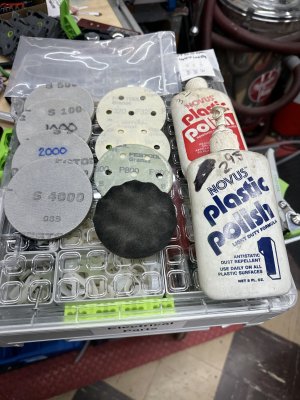


 In any event, I wet sand the headlights using all the grits so using 320 wet is less aggressive than using 320 dry. I keep a spray bottle of water handy and just mist the area lightly to keep everything moist and to prevent dry sanding. The water also very effectively removes any leftover sanding grit/slurry when I move to the next finer grit.