joiner1970
Member
- Joined
- Jun 13, 2007
- Messages
- 3,163
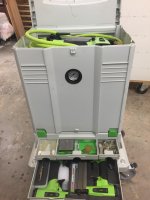
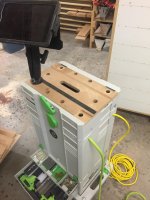
With a sys5 all you need to do is remove the feet and the senco drops in on its back. The way you've cut the handle off it might fit in a sys 4 now.
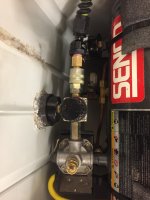
Think I will just try reversing my gauge and see what happens
Think I will just try reversing my gauge and see what happens