rvieceli
Member
Richard the only reason tinker would have more stories is that he is so much younger [eek] and hasn't forgotten them yet.
rvieceli said:Richard the only reason tinker would have more stories is that he is so much younger [eek] and hasn't forgotten them yet.
Car? What car?!? [cool]Richard/RMW said:RMW
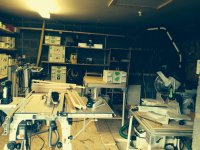
PS - what the heck is a CAR doing in your workshop???
Dan Clark said:Car? What car?!? [cool]Richard/RMW said:RMW
PS - what the heck is a CAR doing in your workshop???
The better question is: Why is that miniscule space in front of the car posing as a shop!?!
Fortunately the car is now a Honda CRV - smaller and much more useful than my Audi. But the available space is still miniscule. Right now I'm pondering how I can make that miniscule space into a usable shop WITH the cars in the garage. And be able to quickly set up a even more usable shop when one or two cars are moved out of the garage. (And then moved back in.)
This thread is far more that a casual read for me. The garage/shop has been reorganized since that pic was taken. Lots of old unusable stuff has been thrown out or given away. Tools move around to be more accessible. Screws and other fasteners have been stored in plastic containers. Blah, blah, blah... But there is lots more to do.
This thread has given me lots of ideas. The workbench on the back right will be replaced with a heavier, more functional one. My MFT (old series) will be installed in a much heavier, super-MFT workbench with wheels for mobility. In a few days, I'll post a general workshop thread and a workbench-specific thread looking for "inspiration" (I need lots).
Regards,
Dan.
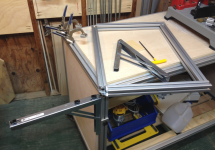
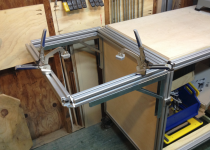
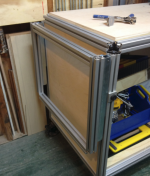
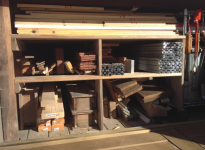
jobsworth said:Here ya go , This is what Ive been dealing with. I have figured out how to increase my storage space. Im building a cabinet to fit under the kapex MFT for starters.[attachimg=1]