Speaker build in progress

Jim Kirkpatrick said:
I've never seen 1/2" bb plywood come in anything but 5 x 5' sheets.  And never a void near that big.  Are you sure it's baltic birch?
Looks like a great project, looking forward to seeing more pictures as it progresses!

BB does come in 4X8, but it takes some searching. Another indicator is being 9 ply for 1/2".

It was actually a de-lamination, ie. a glue problem between the ply. I'll just take it back and pick up another sheet.
 
Nestor said:
Apparently, not all baltic birch plywood is "void free".    [mad]  After making a mistake, I cut into my contingency sheet and found this...

How many lamination's are in that panel...it looks correct at 9 plys...for 3B grade
FWIW, I have bought 3/4" 18mm panels at 4x8' but have not found 1/2 sheets in 4x8'.

Nestor said:
The de-lamination was big enough to render the sheet unusable, and the supplier is 2 1/2 hrs away.  [mad]

I would be calling the supplier and telling them to come and pick it up and bring me a new sheet.
Terrible quality control.
Tim

 
Yes, it's 9 ply.

I'm not worried. I'm sure they'll take it back the next time I'm in the city.

 
Finally messing around with the speaker...

First task, cut speaker baffle. Since I'm building two of these beasts, this was a good time to double up...

001-3.jpg


Sure could have used an OF1400 for the sawdust!

After cutting the hole, align the speaker, drill the holes for the burr-nuts, and epoxy them in. The cutout diameter has to be small enough to leave enough wood for the burr-nut holes, yet large enough to clear the cone surround during excursion.
011-2.jpg


Time for a test! No slapping sound means no wood-surround contact. So far so good. Speaker requires a 12 hour burn-in at 10VAC and 25hz. Much quieter to do this with the driver in free-air.

010-3.jpg


With the driver removed, the baffle can be mounted. The RSS390 doesn't have a front gasket. Fortunately, the instructions mention this, and I included gasket material with my Parts express order.

013-1.jpg


Next up, bracing for the baffle and final interior panels...

 
Have any good "start here" threads?

this is the next project I've been wanting to start for ages.

My last fun project was my lumenlab inspired projector
 
Progress slowed yesterday, due to building a cross-cut sled for the odd-shaped fiddly pieces, so I combined the last two days into this post.

I did have time to cut and install the braces for the baffle:

001-4.jpg


002-3.jpg


Number of braces varies with box width. Mine needs three, with the one in front of the speaker modified to ensure clearance from the speaker cone.

Things went much quicker today. Sequence was fairly repetitive. Cut and install panel; cut and install braces; repeat.

003-5.jpg


007-3.jpg


008-1.jpg


010-4.jpg


"Production mode" with the Kapex..'

005-5.jpg


011-3.jpg


012-2.jpg


014-1.jpg


017.jpg


One thing the instructions doesn't mention is being careful not to push the braces too far in, as it could create a bulge. For the last set in the previous picture, I set a guide on top of the cabinet and shoved in the brace just until it started to lift, then pulled it back until the guide settled flat. Also,  though the brace will be tight when dry fitting, it can slide in A LOT farther when greased up with PL.

Home-stretch (I think) tomorrow...
 
Last main panels in place...

005-6.jpg


007-4.jpg


Still some fiddly bits to cut for bracing in the driver chamber, install driver and wiring post, button up and test.  [big grin]
 
After burning up the day in the city to exchange the bad piece of plywood, I finally got back to it...

Braces and rim installed...

001-6.jpg


Bottom access cover cut, braced and weather-stripped...

003-6.jpg


Overhang is intentional and needs to be trimmed. Was a little tricky with the TS55, as the guide needs to be supported in the middle.

009-2.jpg


I decided to bring the speaker into the family room to install the driver and leak check. Speaker was heavy enough!

013-3.jpg


This beast dwarfs my 63"!  :shock:

010-5.jpg


I had an extra 100W amp handy so I set it up with that for now. It'll take some more playing around, but I'm very happy with it. The heart beat in Dark Side of the Moon revealed some loose parts in my fireplace. :) "Busy Child" by Crystal Method was startling. I can tell the THT is reaching depths I had only heard/felt in my car stereo. I can only imagine what this will be like with the Bash 300W's.

And yes, I've already begun the second THT LP. :D
 
I think you need to advise your local seismic activity monitoring station ... don't want them recording misleading data!  [eek]
 
Kev said:
I think you need to advise your local seismic activity monitoring station ... don't want them recording misleading data!  [eek]

Dude! You owe me a new keyboard!
anim_lol.gif
 
003-7.jpg


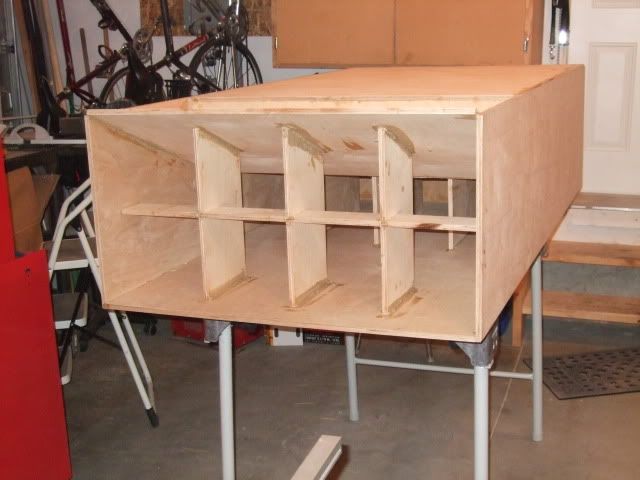
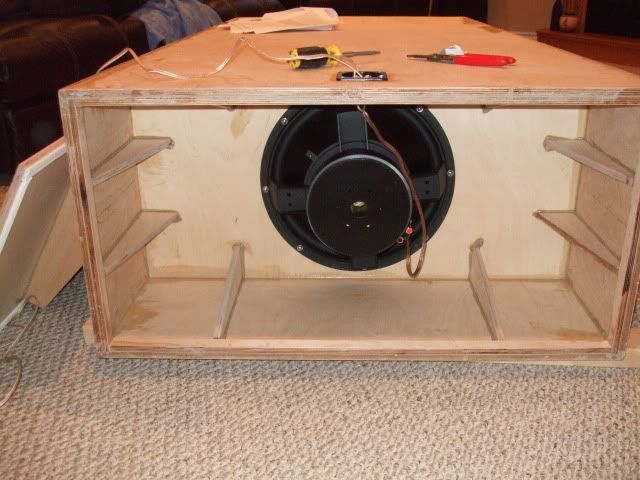
No, that's not a duplicate pic. That's sub #2  ;D

If these pics aren't right side up, my apologies. I made the changes in photobucket, but they don't seem to be reflected here.  ???

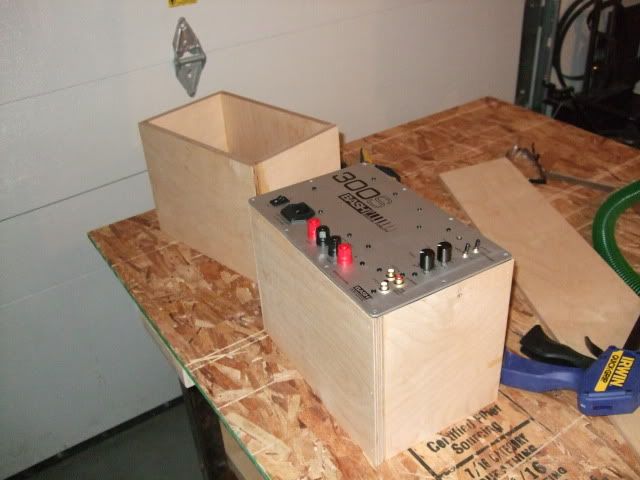
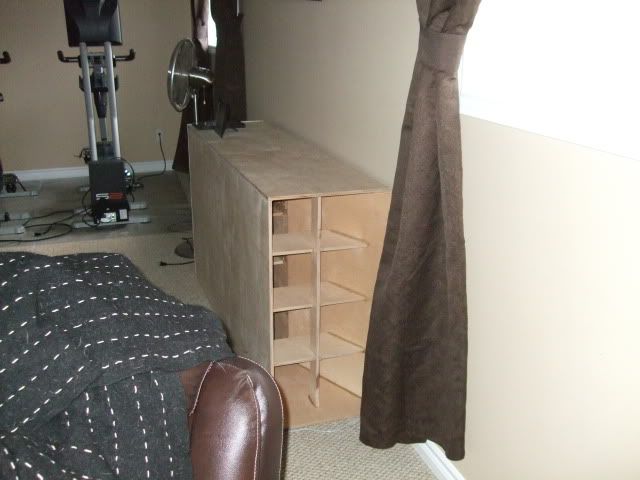
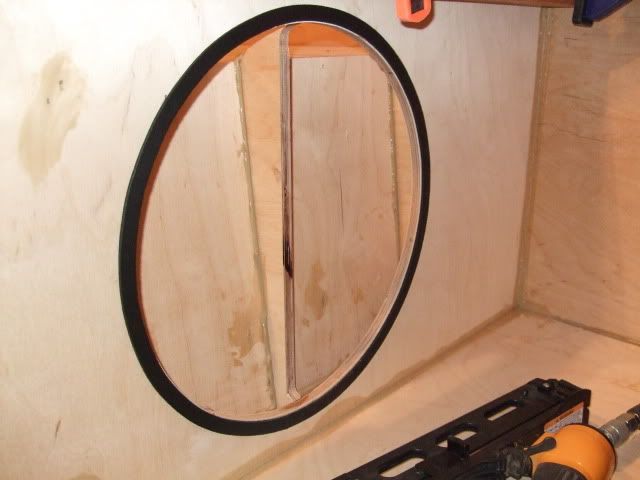
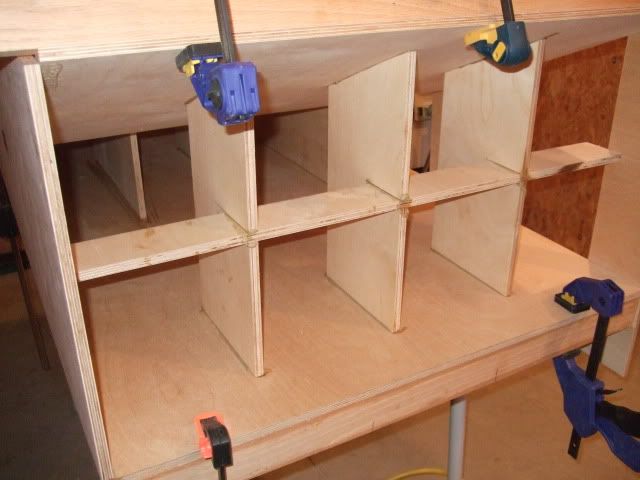
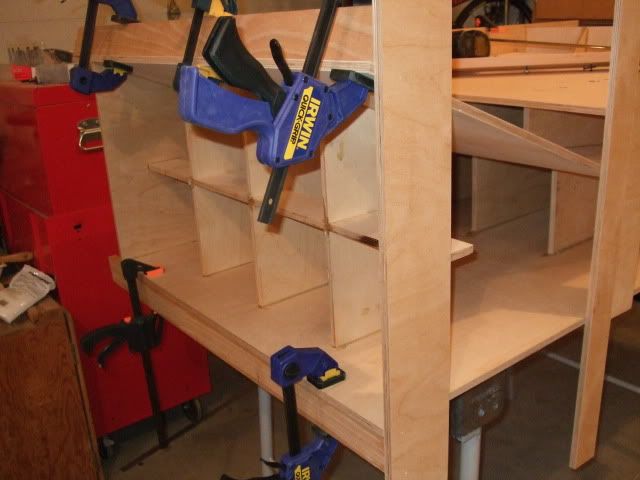
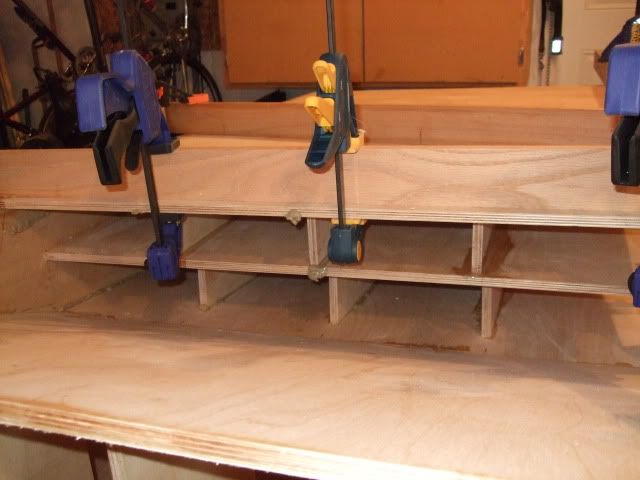
Below is some quick boxes for the subwoofer amps.

001-8.jpg


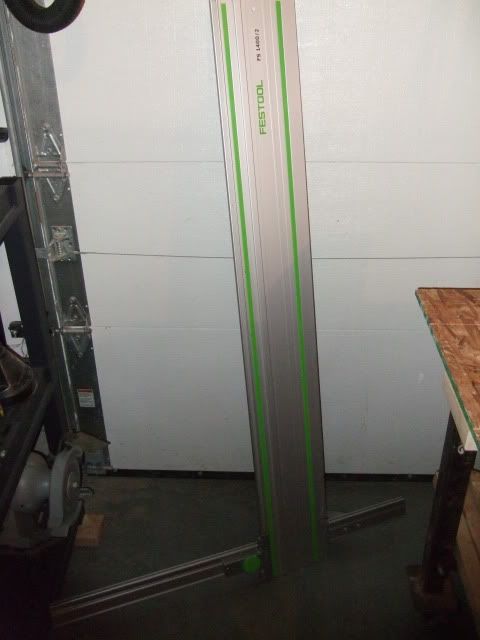
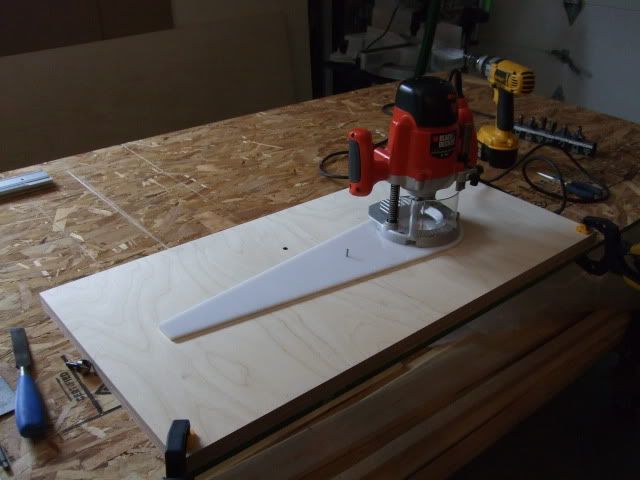
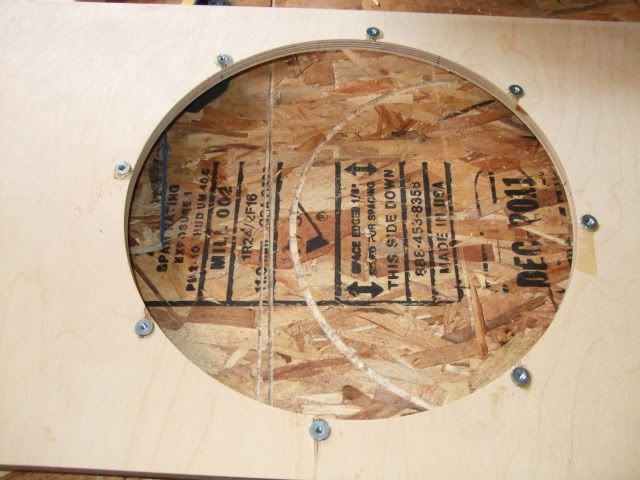
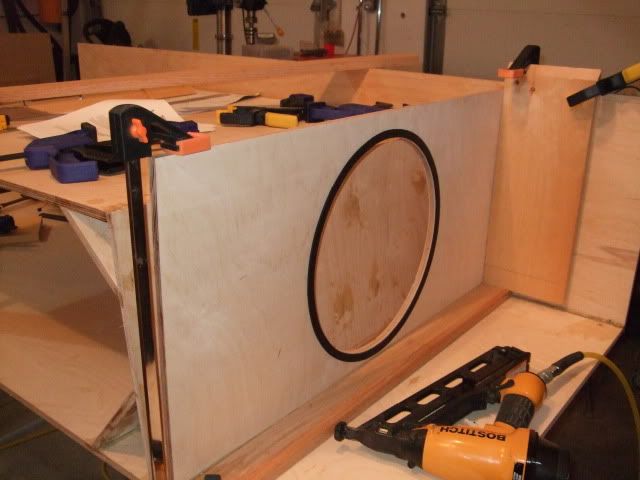
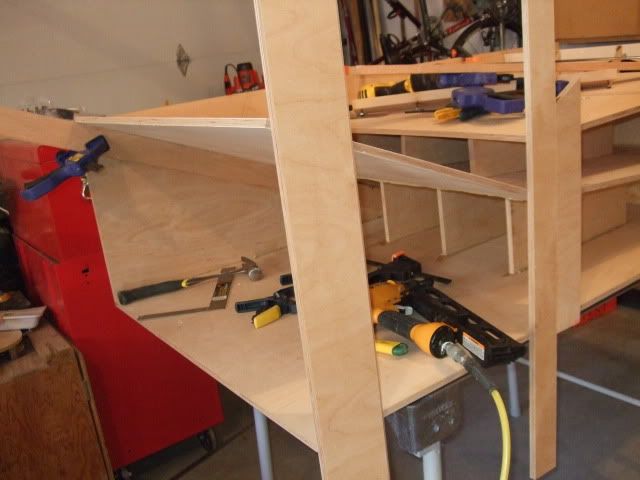
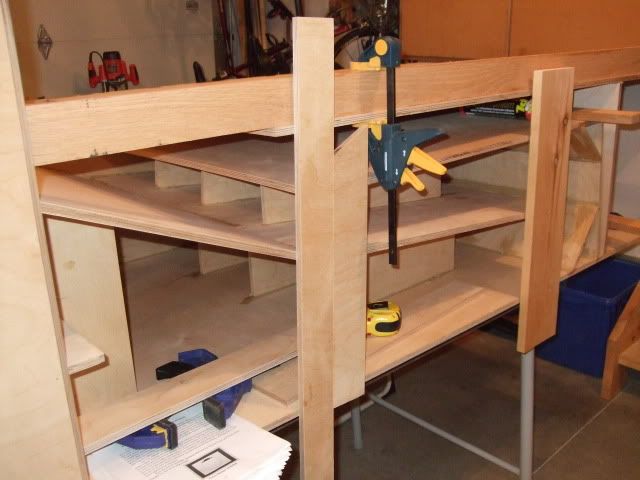
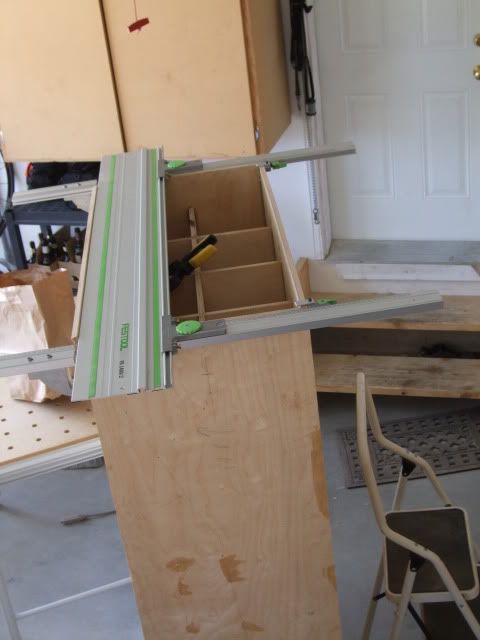
A few things to share Festool-wise. Most of the panels I needed to cut from previously ripped 35" sheets. This presented a problem in that I couldn't use one parallel guide, as my table is too wide.

Best option was squaring up one guide and using a clamp at the other end.

002-4.jpg


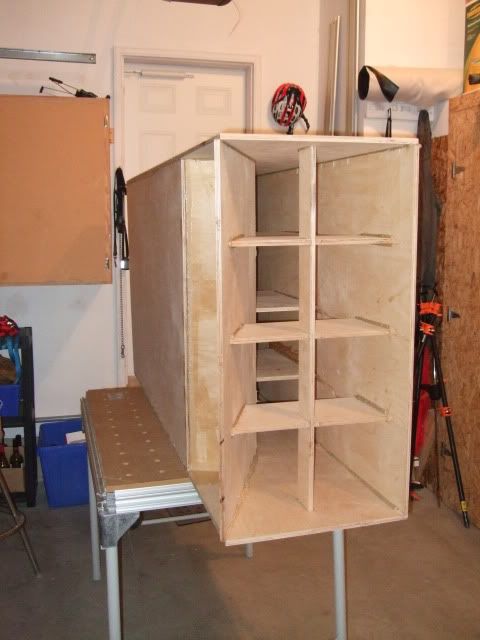
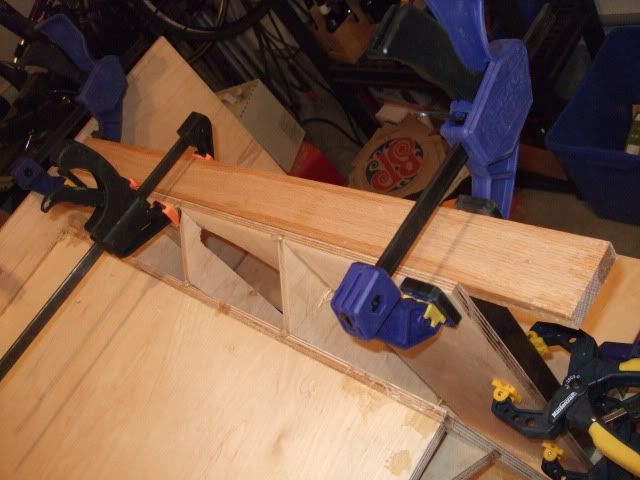
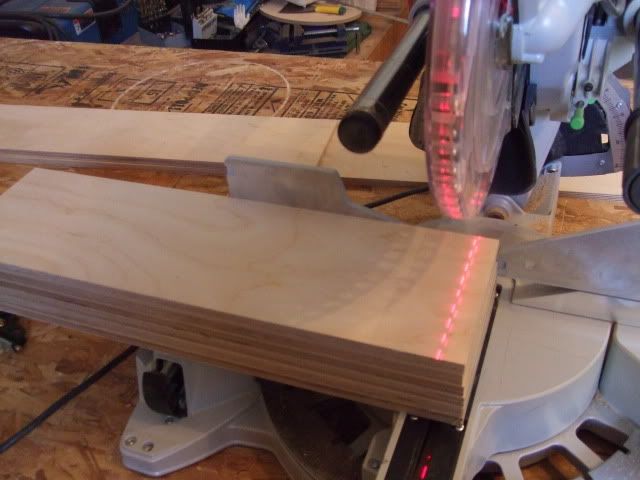
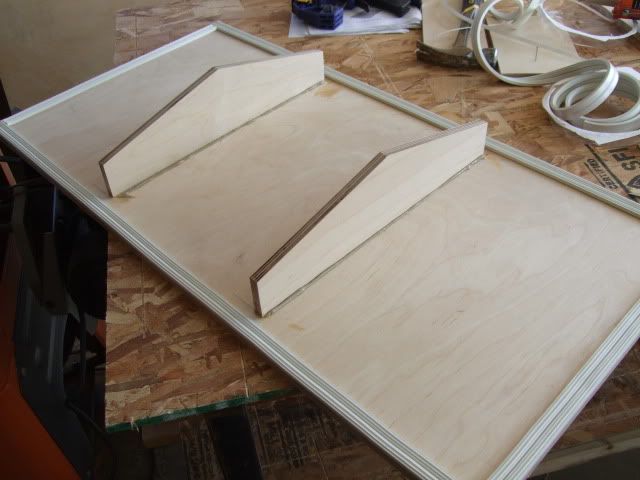
One challenge was to cut a 52 degree bevel. With my first sub, I tilted the guide with a shim, cut a scrap piece and measured the angle. Subtracted that from 52 degrees and set my saw bevel accordingly.

For the second sub, I tried every which way with my table saw to do the same thing, and simply couldn't find a safe and effective way of doing it without making an elaborate jig.  [unsure]

So back to the TS55 and the guide.  [embarassed]

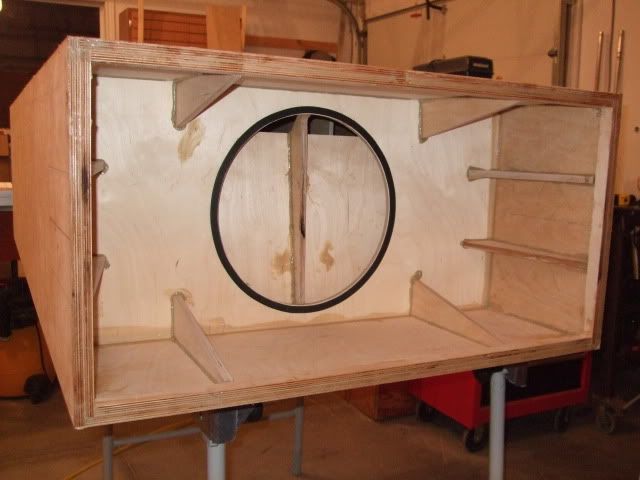
Another issue was with the Kapex. I had used my Kapex very little but discovered that it was out of square when cutting short pieces. Checking further, I realized the fence was crooked.  [eek]

To their credit, a call to Festool resulted in getting a new fence shipped promptly, and with no hassle.

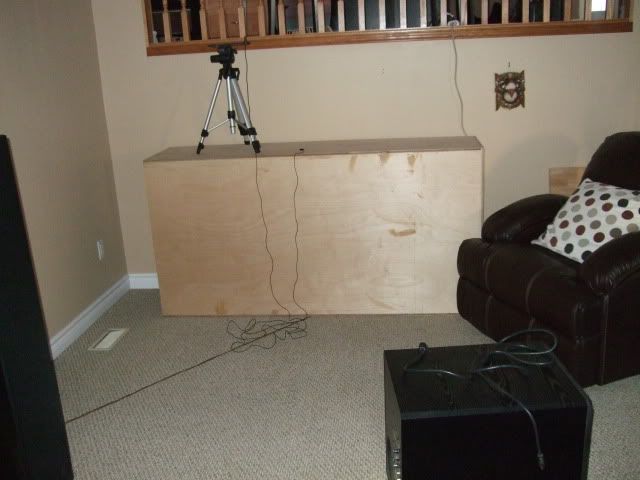
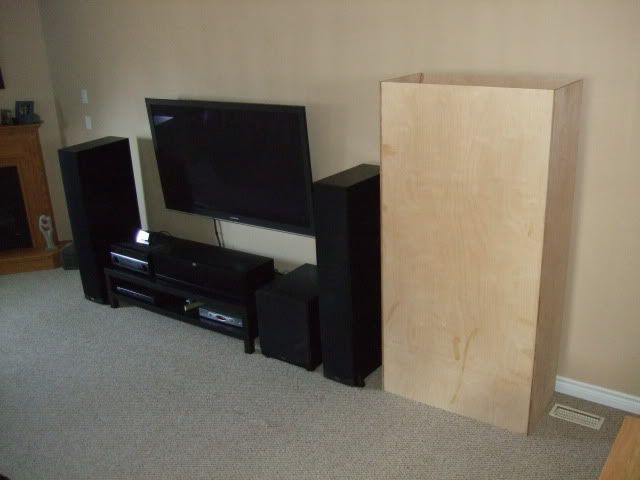
Gotta work this weekend but hope to have the second sub in operation next week .  [big grin]
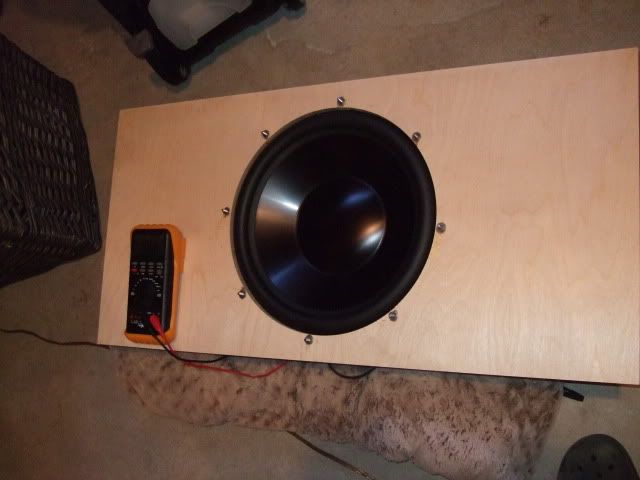
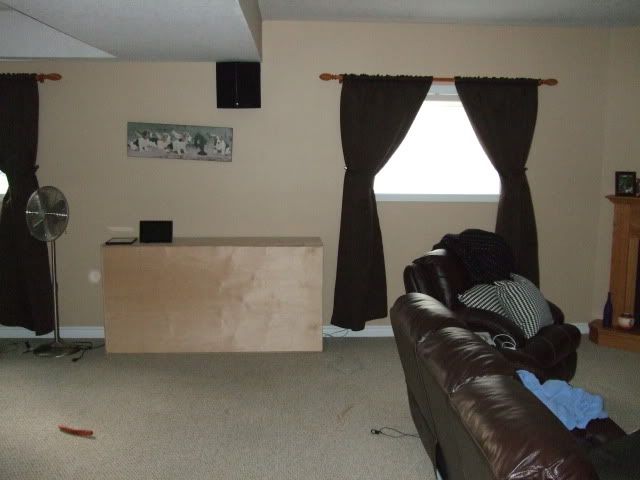
 
Second THTLP assembled and in operation.  [big grin] I won't be heartbroken if I don't see another tube of PL Premium for a while.

001-10.jpg


Picture above needs another nail, it seems.

002-5.jpg


I decided to lay down the first one, and noticed a gain in performance.

003-9.jpg


After enjoying them, they will be back in the garage to be finished.

As for performance?

[eek]
 
greenMonster said:
Holy crap...now that's a sub.

Pl premium is the ideal glue? Interesting

PL expands as it dries, ensuring air-tight joints, which are paramount in this build. White glue just doesn't cut it.
 
Back
Top