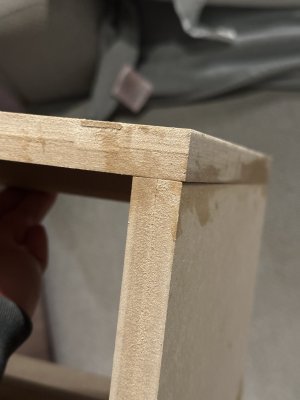
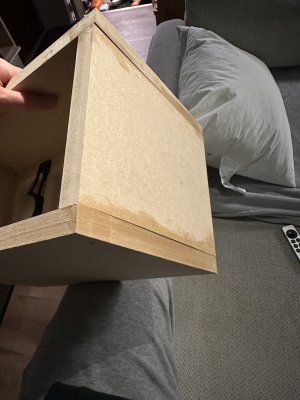
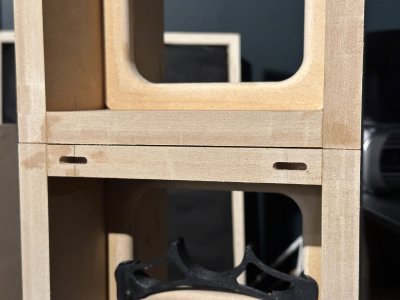
I just saw theee pictures on a desktop computer, they're HUGE! sorry about that!
I'm scared my question got lost in the previous post.
I'm not sure how the finishing would go. I'm wondering how to proceed when it comes to glue sand and paint.
Knowing its mdf, and when I will coat with primer, the mdf will fuzz. I'm using zinser white shellac primer. I'm scared about sanding the 3/16 groove when the mdf fuzz after the primer.
I was thinking of doing:
- masking all surface that would have glue in the glue-up,
- painting the first coat of primer.
- sand the primer.
- glue
- glue clean up
- spot fill and sand using timbermate woodfiller
- second coat of primer
- sand
- and paint using a matte/flat ultra washable paint, like benjamin moore scuff-x or sherwin william Scuff tuff.
I also seen online that some people like using a mixture of 50/50 of timbermate woodfiller and water to seal the MDF edges.
What would you guys do ? what do you think about my workflow ?
For ultra-flat paint, I would suggest General Finishes’ “milk paint” which is actually a modern exterior grade acrylic finish meant to replicate the appearance of milk paint.
They claim no primer is required. I used SealCoat dewaxed shellac for improved adhesion and to prevent raising the “grain”, which with MDF looks like 80 grit sandpaper.
Applied with the recommended foam brush or the not recommended bristle brush, it yields a perfectly flat and smooth surface finish with no hint of brush strokes. It brushes on better than any other finish I have tried. But water-based and the MDF must be sealed before applying the paint. US SealCoat or BIN pigmented shellac for that purpose. I find that the SealCoat is less likely to leave brush strokes on the finish.
I used grain filler (intended for open grain wood floors) applied with a rag like shoe polish, then lightly sanded. Once dry, the grain filler sands easily and cleanly. Then the shellac, then the GF “milk paint”.
But note that matte finish can show scuff marks rather easily. A clear coat will protect the finish. But note that a semi-gloss or matte finish clear will make the black finish look like dark gray. I found that using gloss finish and then hand rubbing with 0000 steel wool used with wax, yields a better result. The wax and sanding leaves a silky feel and feels rich to me. But they also sell “wool-oil” if you don’t want to use wax. The steel wool knocks down the glossy finish. Using 000 will result in a lower gloss, but I have not tried that. Make tests for whatever finish you want. Matte finish black offers some difficulties.
I made a table top with two layers of MDF and the edge finished with grain filler, seal coat + gold sign paint. The seam is entirely invisible. I will post an image when I get home.
ADDENDUM:
Below is an image of a table top made from laminating two layers of 3/4” thick MDF. The edges were prepped as described above, and finished with 1-Shot sign painters’ paint in gold. I will add a detail shot shortly.
The detail will reveal some brushstrokes, but will not reveal the seam between layers of MDF. The grain filler took care of that.
Note: This was made from older MDF stock with glass-smooth calendared flat surfaces that did not need to be grain filled or sealed. The stuff I can find does not have that glass-smooth flat surfaces, and likely will need sanding and filling to get a really nice finish.
