Gene Davis
Member
- Joined
- Jan 19, 2008
- Messages
- 95
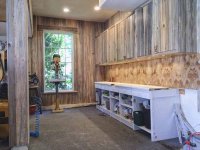
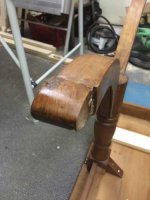
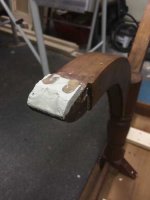
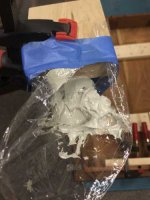
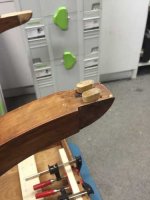
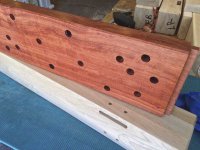
Ok, Mr Nuthin, you gotta start thinking about what to do with this rube bench you're gonna finish soon.
They're made for hand work, you know, and you ought to put it in a part of your shop where there ain't no power, so you can't operate anything on it or near it that spins or jiggles or random-orbits or anything else you might hurt yourself with.
I'm just sayin.
Want some inspiration? Go over to the Sawmill Creek site and tune into the Neanderthal channel, find any build thread there by Mr Brian Holcombe, and see how he does it. His most recent is a bed build.