FestitaMakool said:
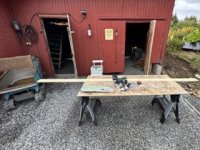
I’m pretty much in the same boat, finally started the restoration of my outhouse/shed.
It’s been me mostly alone, digging out soil floor [eek] jacking half the building up into former heights with hydraulic bottle jacks (I did dig out the bottom sills with a spade.. they once where 6x6” beams.. [huh])
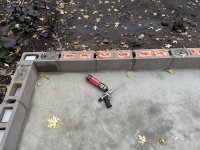
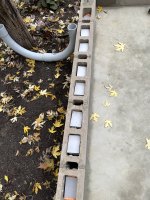
Now after filling in 6 tonnes of gravel inside and outside, having poured 3 cubic meter of concrete delivered by a cement truck with hydraulic gutter all laid within 1 1/2 hour I leveled myself it’s a 322 sq feet (30sq m) of slab now.
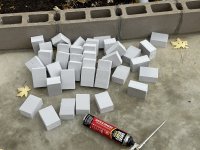
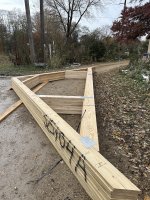
It’s a fresh start. 10sq m of that is an extension. I’ve built the walls for the extension in modules (framing) and have now started to mount the wall modules to the concrete blocks. All the hard dirty work is now (nearly..) forgotten as it’s working with wood and as a framer (picky one [big grin] but I’m the only boss though!)
Looking forward to your progress Cheese, in before Christmas too you also? [wink]
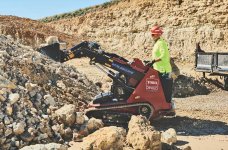
Well Festita...I'm pretty much in awe of what you're able to accomplish. I understand the bottle jacks but it's the "digging with the spade" thing that's over the top for me. Do they offer Dingos® for rent in Europe? That's what I used for installing a New York Bluestone patio about 18 years ago.
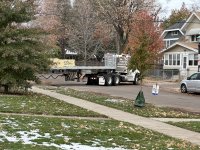
They're small walk-behind machines that are narrow enough to fit through a garden gate, they're tracked vehicles so they are light on their feet, and do an incredible amount of work on an incredibly small amount of fuel. I think the largest model is capable of hauling over a 1/2 ton of material. That would have made that 6 tonnes of gravel easy peasy. [smile]
I rented it for about 4 days and the fee was pretty reasonable considering the amount of work it can accomplish. I removed the top soil, hauled & spread the class 5, hauled & spread the sand and staged the pallets of bluestone while using about 4 gallons of gas.
Even though I was 20 years younger it was still a back saver and a time saver. Just something to consider for your next project. [big grin]
[attachimg=1]