iamnothim
Member
- Joined
- Feb 5, 2014
- Messages
- 1,435
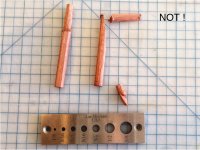
Gene Davis said:I just bought a Stanley 71, not complete, as it is missing a fence, but it has the shoe, and a 1/2" spearpoint blade. The Lee Valley blades will fit it just fine.
Had been trimming tenons with a Stanley #90 bullnose and a Veritas medium shoulder rabbet plane, but this should give a little more precision. Watch Chris Schwartz show how to sharpen router blades using waterstones and a thin steel ruler. My ruler is from Harbor Freight. Rob Cosman is a fan of the ruler method of sharpening, and I saw the trick first on one of his YouTube vids.
Nice looking plane Gene!
Someone on the thread tipped me the the Veritas PM-V11 blades so I ordered a set with the cap for my No2. No5. and No.6
I've watched a lot of sharpening videos and have not gotten it down yet. I have some decent stones and I flattened them recently. I am using a roller jig and getting better results. It's set for a micro bevel. I have a Tormek system that does a good job. I just think if I practice with stones I can do a bit better. But that's for later. I have too much on my plate right now.
From the video's I watched and Marc Spagnolo's use of a router plane that looks like the ticket. I like the depth stop function. In theory, if you know what you are doing, you should get flat mirror image symmetrical tenons.
I've wanted a LN block rabbet plane with nicker for doing this but I held off because I have a Clifton 410 shoulder plane for corners. Once the router plane arrives I'll use it for the wide tenon faces and the Clifton for..... what else.... the shoulders. I'll get the rabbet plane down the road. Way, way, down the road I see a set of Japanese hand forged chisels in my future. There is much to learn about them before one considers purchasing a set.
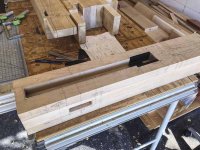
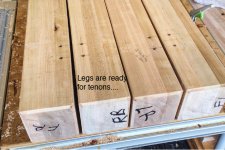
I'm very pleased that I completed all the mortises in the legs. The plan is to practice making tenons that fit them. When I have it down I will make the production rails and build the base.
[attachimg=1]